
What Embossing Actually Does on Press
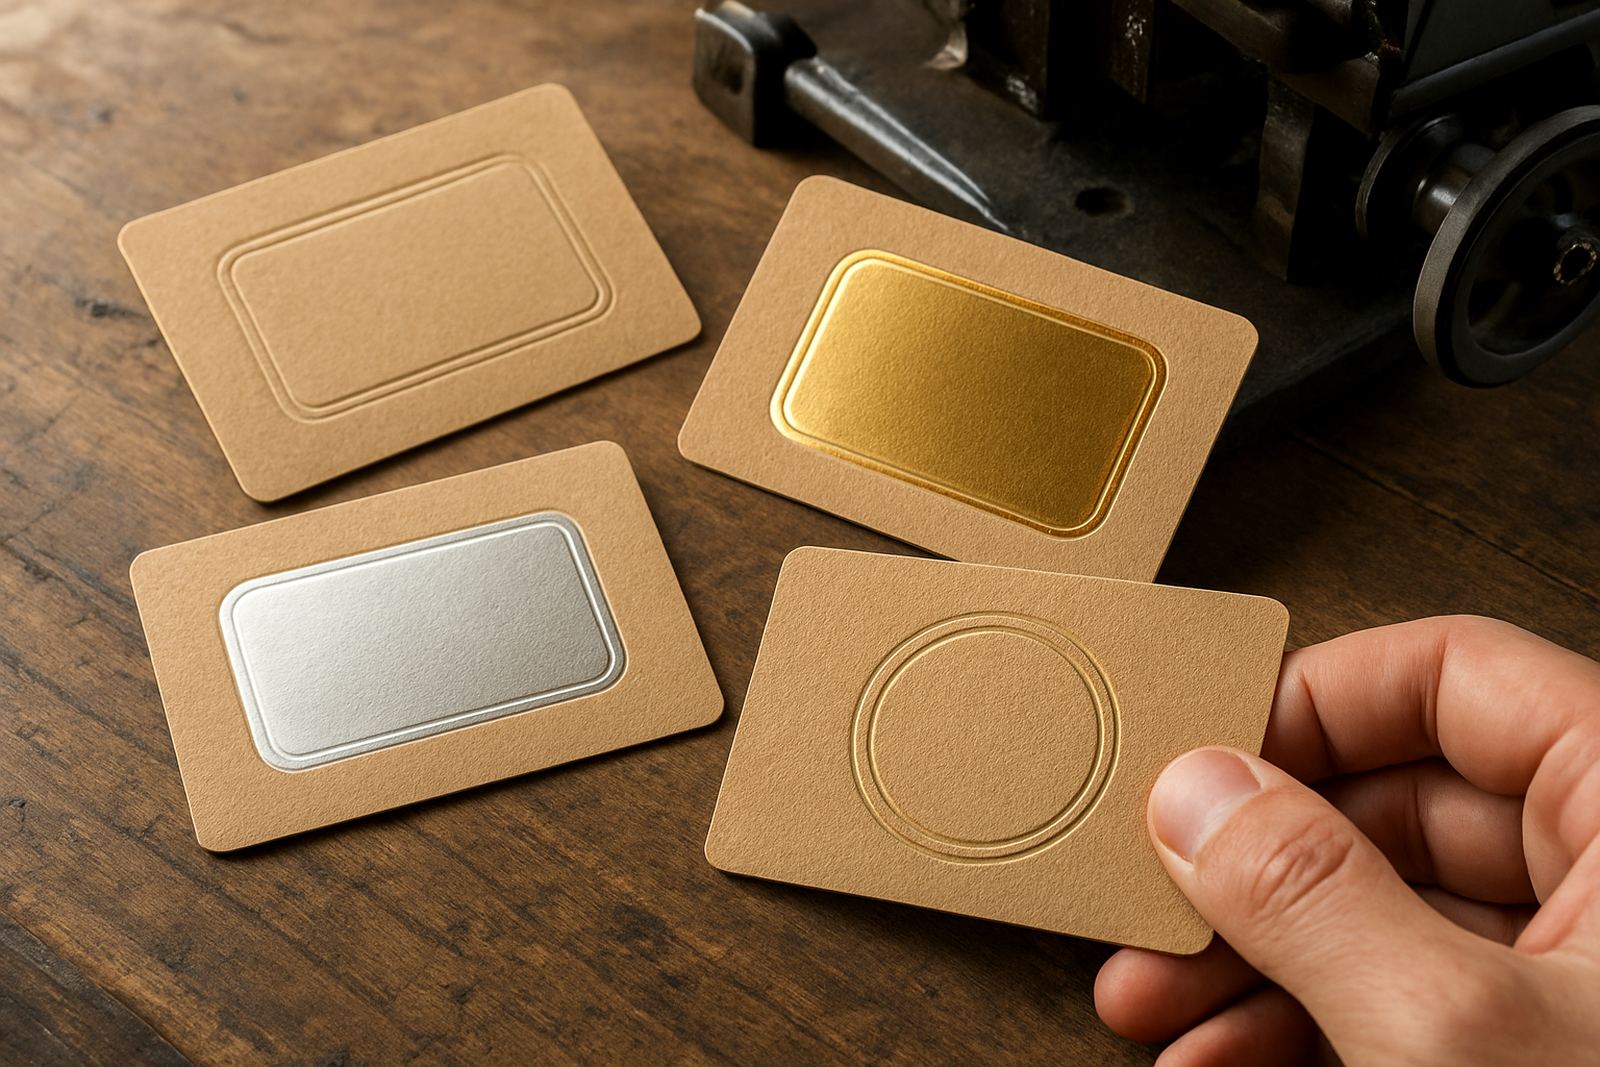
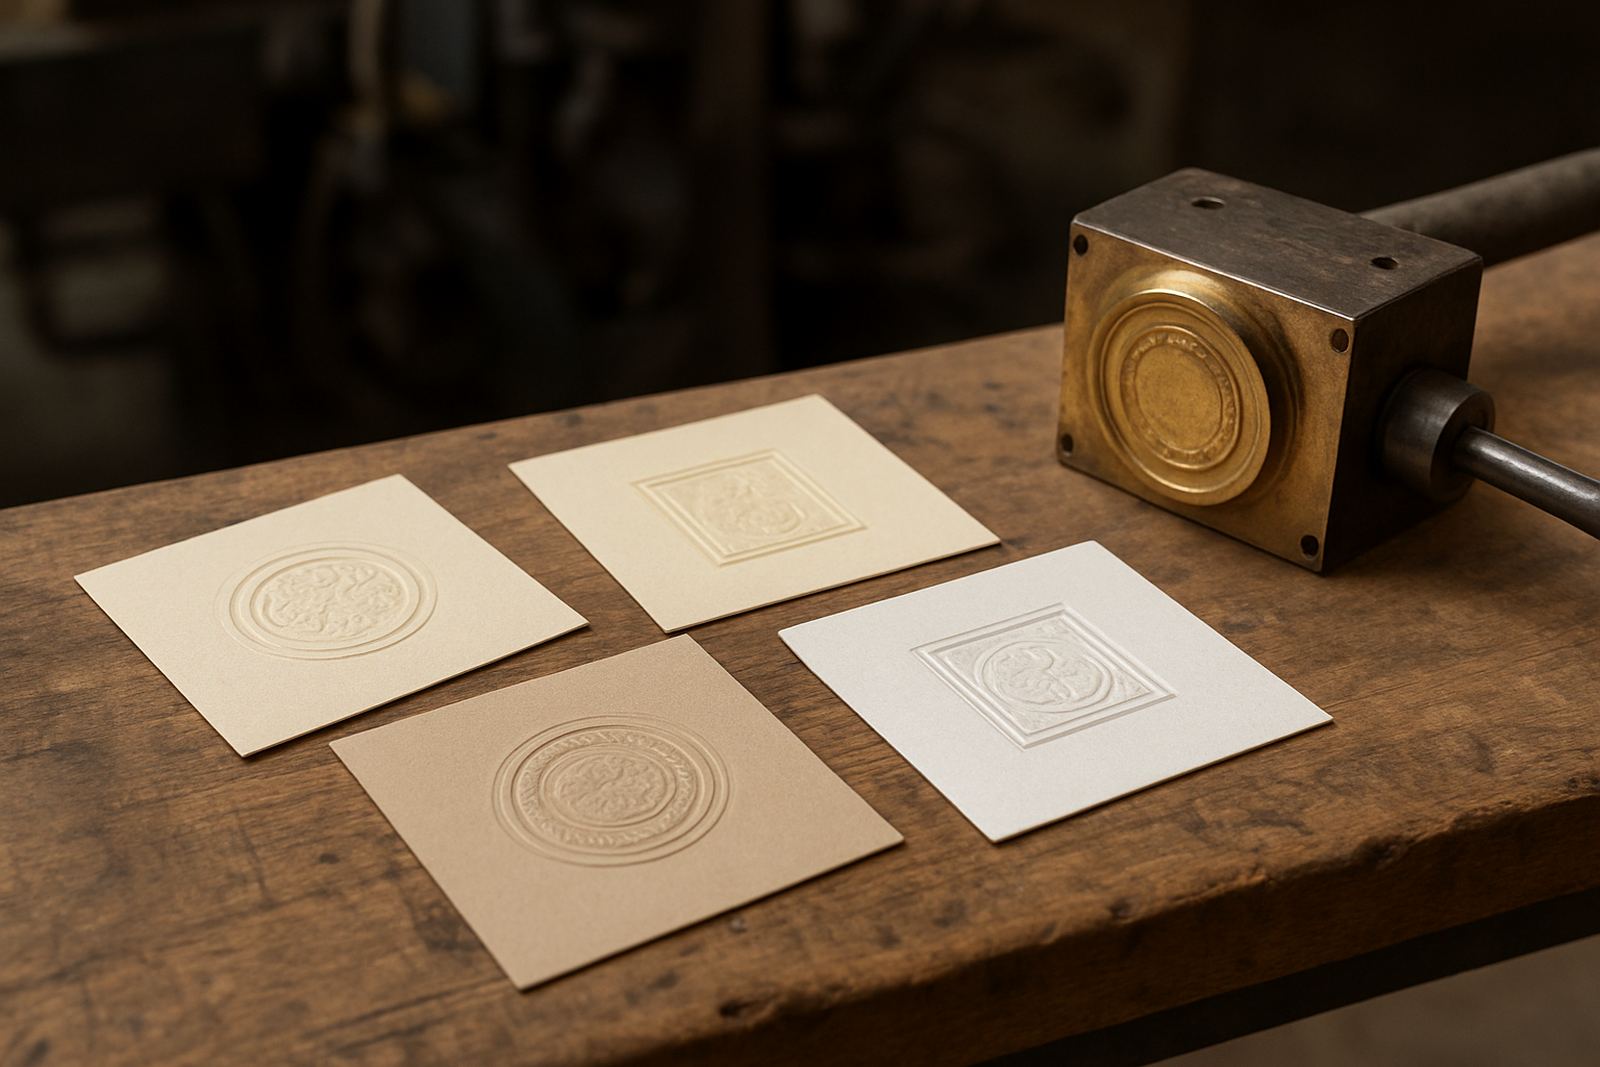
Embossing changes the surface of the sheet by pressing fibre into a raised or recessed shape. In plain terms, the die and counterforce work together to push the material into form, so the finished piece has depth you can see and feel. It is common on cartons, sleeves, certificates, covers and premium inserts.
For South African print teams, the important thing is to match the embossing style to the stock and the end use. A fine logo on 300 gsm coated board behaves very differently from a broad monogram on textured kraft. If the sheet is too thin, the mark can crush fibres or show on the reverse side too strongly.
- Raised embossing lifts the image above the surface.
- Debossing presses the image into the sheet.
- Blind embossing uses no foil or ink, only form.
- Registered embossing aligns with printed artwork or foil already on the job.
Choosing Brass or Magnesium for the Job
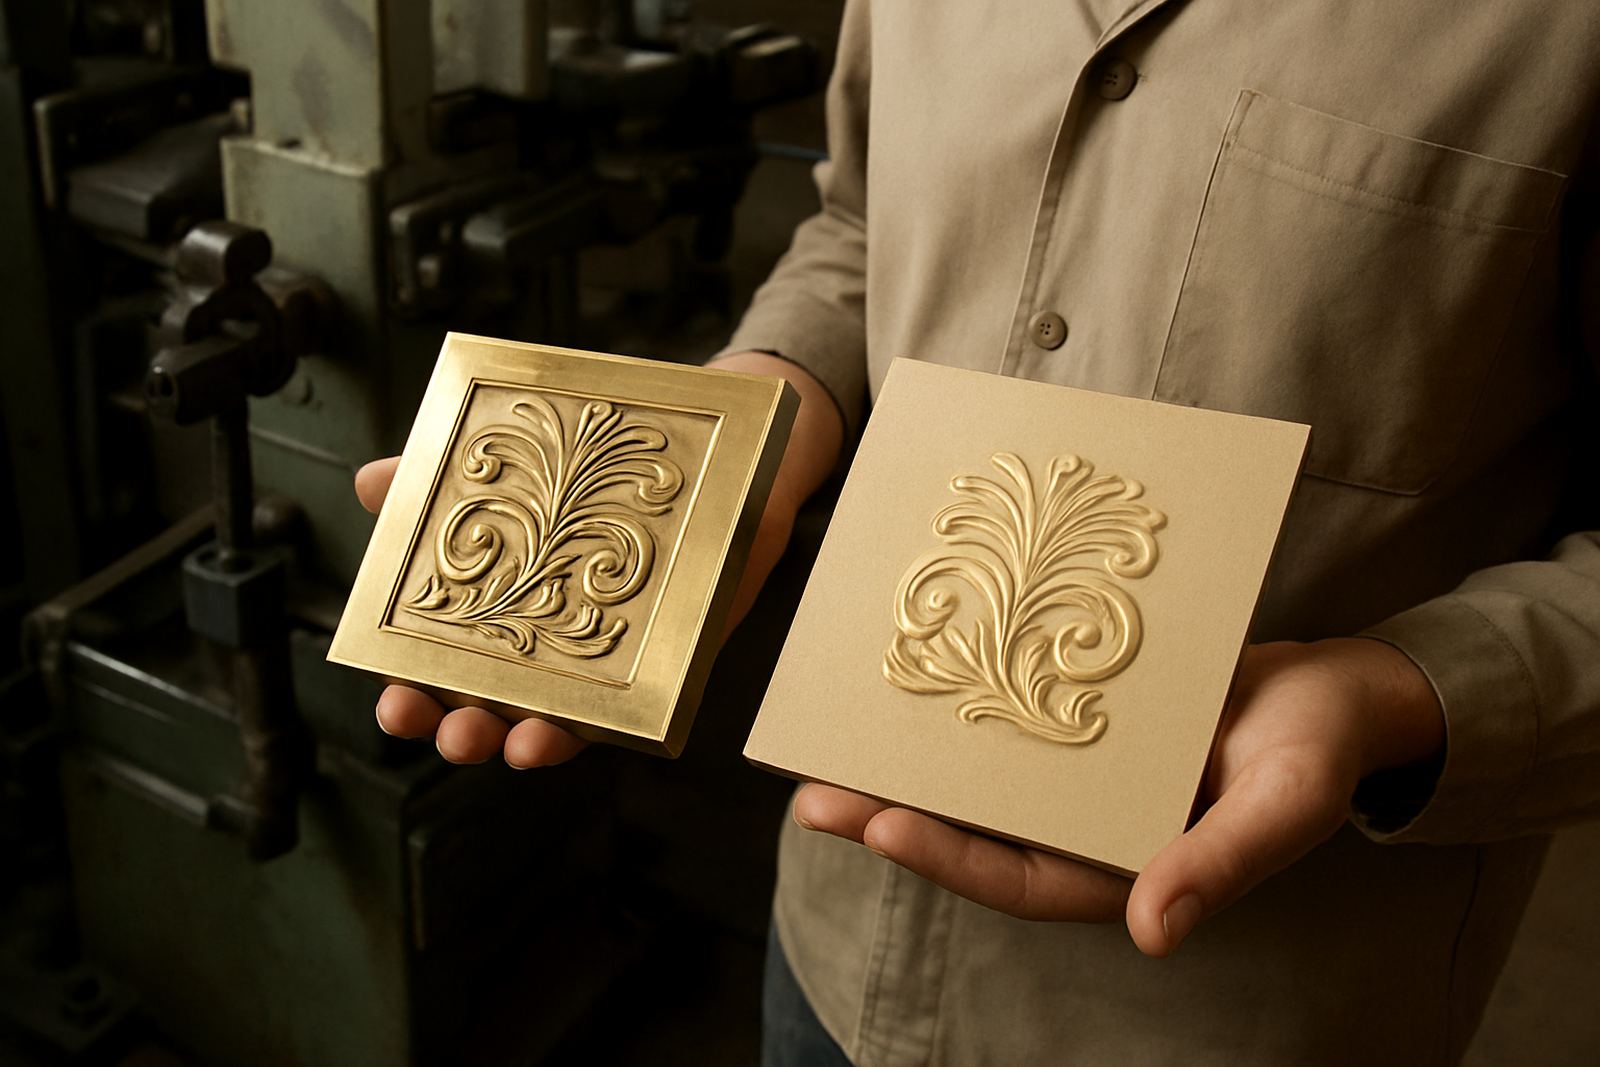
Material choice matters because embossing dies do not all behave the same way. Brass dies are usually chosen for finer detail, longer runs and tougher finishing demands. Magnesium dies can be a practical option for shorter runs, simpler shapes and tighter lead times. The right choice depends on line thickness, press pressure and how often the job will repeat.
On repeat packaging work, a brass die often makes sense because it holds detail over time and handles more pressure on busy finishing floors. If the job is a once-off launch for a boutique run in Cape Town or Durban, magnesium may be the better value. It is worth discussing the run length upfront so the die matches the plan and does not arrive over-specified.
- Use brass for finer detail and repeat work.
- Use magnesium for shorter runs and simpler artwork.
- Ask about stroke depth if the image is wide or heavily filled.
- Check whether the press can handle the required counterforce.
Artwork That Embosses Cleanly
Good embossing starts before the die is engraved. The artwork should be clean, well scaled and set up with the actual line weights the die can reproduce. Very small text, weak hairlines and tight corner details can soften or close up once the sheet is pressed. That is where careful artwork checking saves time and waste.
For local production, it helps to send files with clear layers and exact sizes. A logo that looks fine on screen may not hold on a carton panel once the board is creased and folded. At our Industria base in Johannesburg, we often see jobs where a simple line adjustment makes the difference between a crisp impression and a patchy one.
- Keep small text large enough to stay legible after pressing.
- Avoid tiny gaps in line art, they can fill in on press.
- Tell the die maker the substrate and final sheet size.
- Include samples or photos if the job must match existing work.
Why Counterforce Matching Matters
Counterforce is the backing that supports the sheet during embossing. Without the right counterforce, the die may over-press one area and under-press another. That can leave uneven edges, bruising on the reverse side, or a flat result where the design was meant to stand out. Matching the die to the counterforce is one of the most important parts of the setup.
Different boards, papers and laminated stocks need different levels of support. A coated carton for a cosmetic box may need a firmer counter to keep the emboss crisp, while an uncoated textured stock may need a softer setup to avoid cracking. If a finisher in Pretoria or Gqeberha is running the job, it is worth confirming the press conditions before the die is packed and couriered.
Planning Around Press Conditions and Load-Shedding
Embossing relies on consistent pressure, clean feeding and steady setup. In practice that means the finishing team needs enough time for make-ready, sample impressions and adjustments. Sudden load-shedding, shifted shifts or a busy end-of-month production schedule can all affect turnaround. A die that leaves us looking perfect on the bench can still need a small tweak once it reaches the press room.
If a job is urgent, it helps to say so early. That allows the team to prioritise engraving, packing and dispatch in a sensible order. We also see jobs where the best answer is a sample impression first, especially when the board is imported or the carton has a heavy print coverage. One small change at this stage can save a costly rerun later, and it keeps the client from having to recieve cartons that need rework.
- Allow time for sample impressions on new stock.
- Plan for courier movement between Johannesburg, Pretoria, Durban and Cape Town.
- Confirm whether the press room is running day or night shift.
- Keep a backup plan if municipal power cuts affect production timing.
A Practical Example from Johannesburg to the Coast
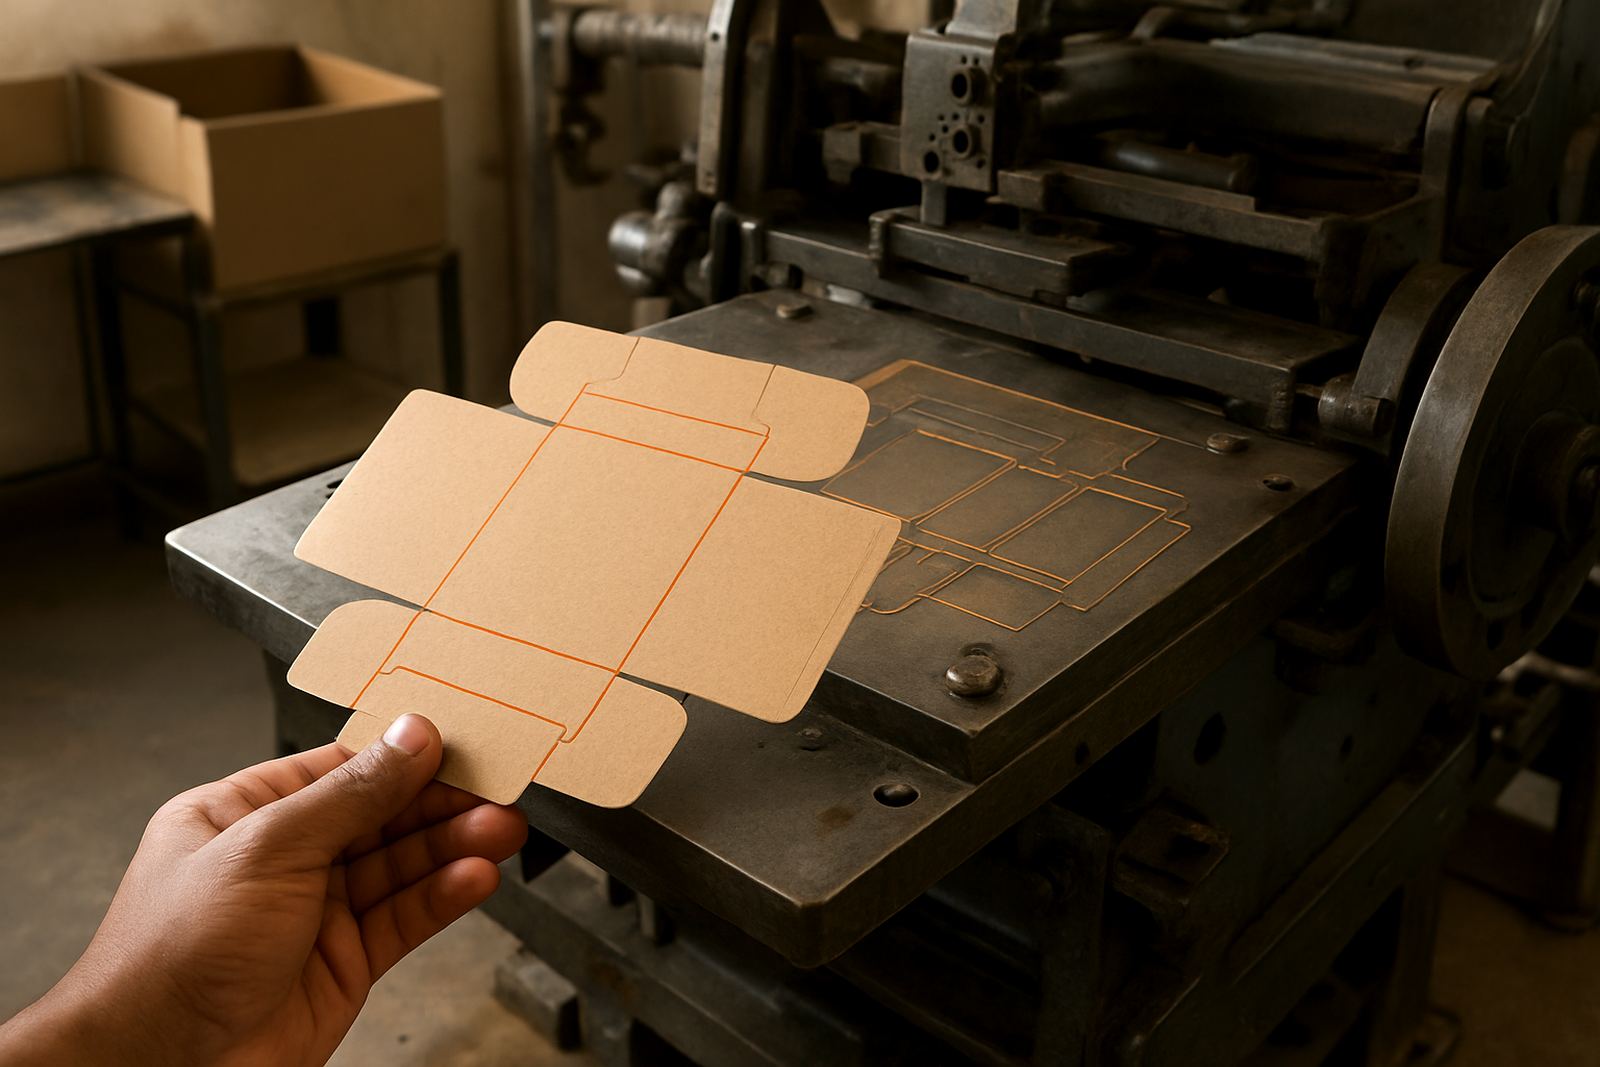
Take a premium soap carton ordered by a packaging house in Johannesburg and finished for a retailer in Durban. The artwork has a simple brand mark, a narrow border and a small line of copy on the front panel. The finisher wants a raised blind emboss on a 350 gsm board with a slight texture. In that case, the die needs clean lines, the counterforce must support the board evenly and the finish team should test the depth before the full run begins.
If the job is going to a coastal client, humidity can also play a part. Board can shift slightly in wetter conditions, which is why dry storage and careful packing matter. We often recommend keeping the job flat after delivery and checking the first impressions before the full run starts. For repeat orders, filing the job details properly makes the next run faster because the same specifications can be used again without guesswork.
- State the stock, thickness and final fold-up size.
- Keep approved samples and job notes for repeat ordering.
- Ask for die cleaning or alteration if the job changes later.
- Check packing so the die arrives ready for use, not bent or damaged.
What to Ask Before You Place the Order
Before you submit an embossing job, ask a few direct questions. What is the substrate, how deep should the image sit, is the job blind or registered, and will it need a repeat later? Clear answers help the die maker choose the right material, engraving depth and support method. That saves time on the press floor and reduces back-and-forth with production teams.
It also helps to ask about alterations, sample advice and whether the job should be filed for future repeats. For many print finishers, the real value is not just the first die, but having the next one ready when the same packaging comes back six months later. That keeps production moving and avoids starting from scratch each time.