
Start With the Carton Structure, Not the Decoration
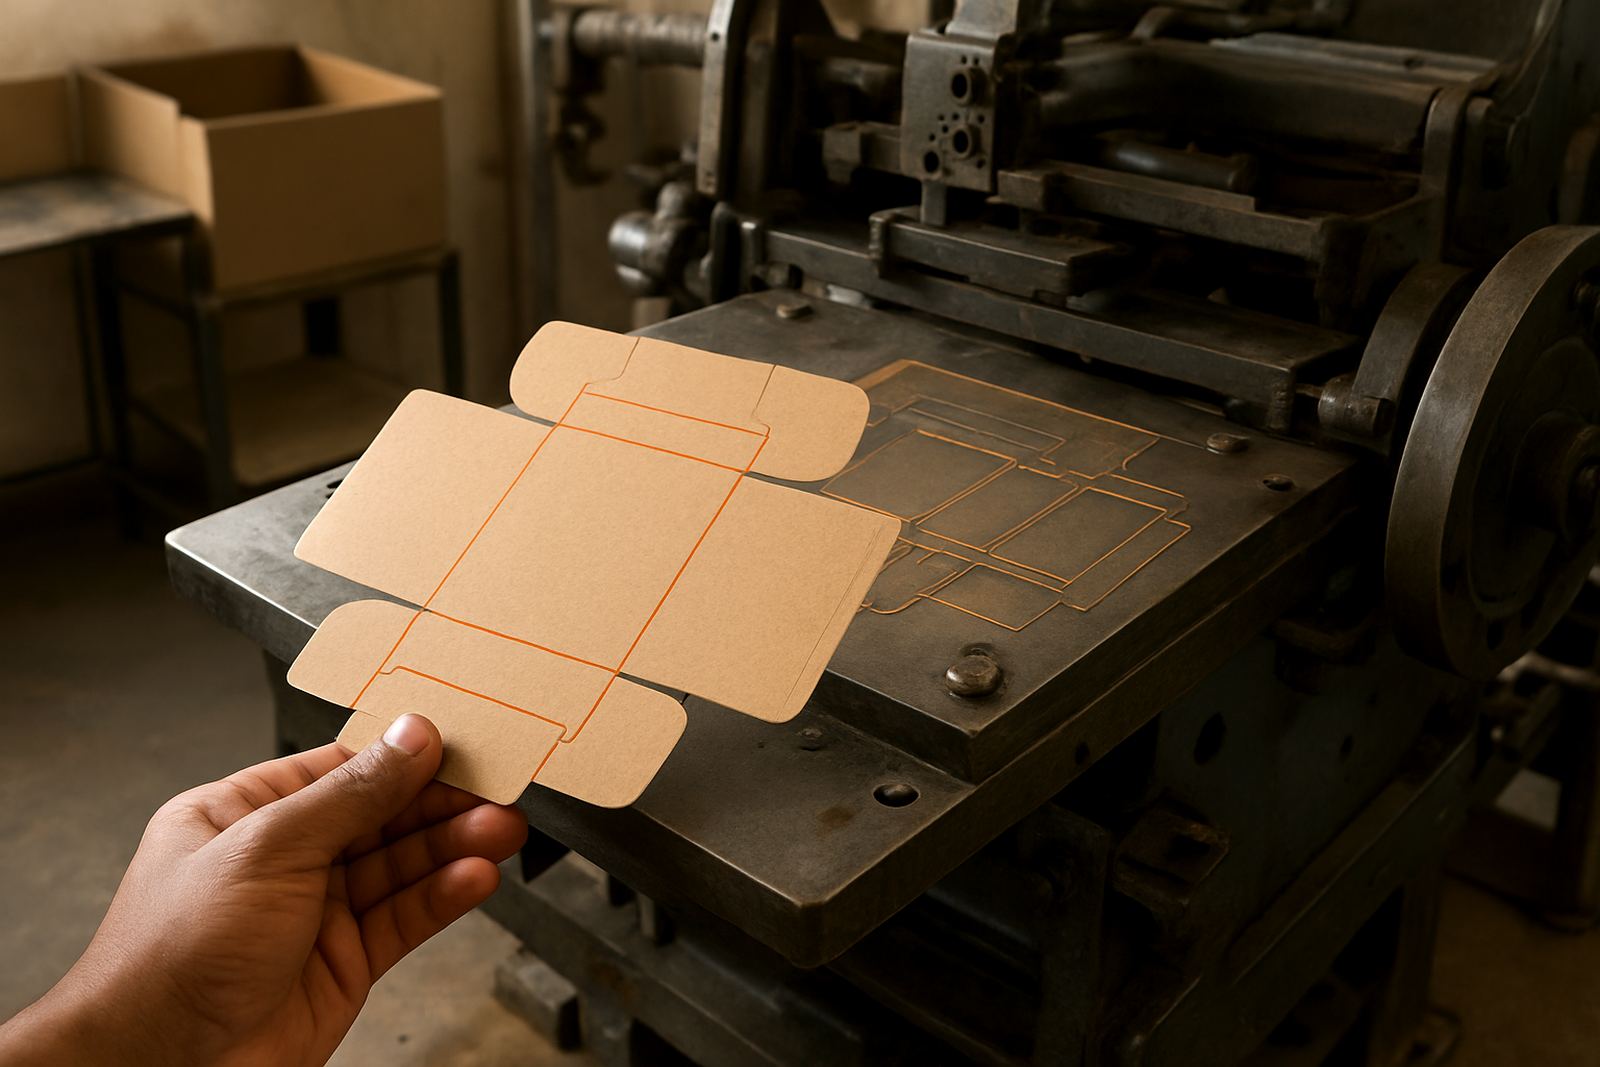
Before any artwork is marked for foil or emboss, the carton needs to be read as a folded object, not just a flat panel. A small logo in the wrong position can land on a crease, cross a tuck flap, or sit too close to a seam where pressure is uneven. That is where the trouble starts. On carton work for cosmetics, liquor, food, and premium retail packs, the panel plan should show exactly where the front, back, side panels, glue flap and top closing areas will end up after folding.
For Johannesburg converters and national packaging houses, this is especially important when the job moves quickly from litho print to hot stamping and then to gluing. If the panel map is not clear, the die can be made accurately and still give the wrong result on the carton. A clean plan saves time, board and a lot of repeat setup.
- Mark all folds, flaps, seams and glue areas on the approved layout.
- Check where the carton opens and closes in the hand, not only on the flat sheet.
- Keep critical text and logos clear of fold lines and pressure points.
Place Foil Where the Board Can Carry It
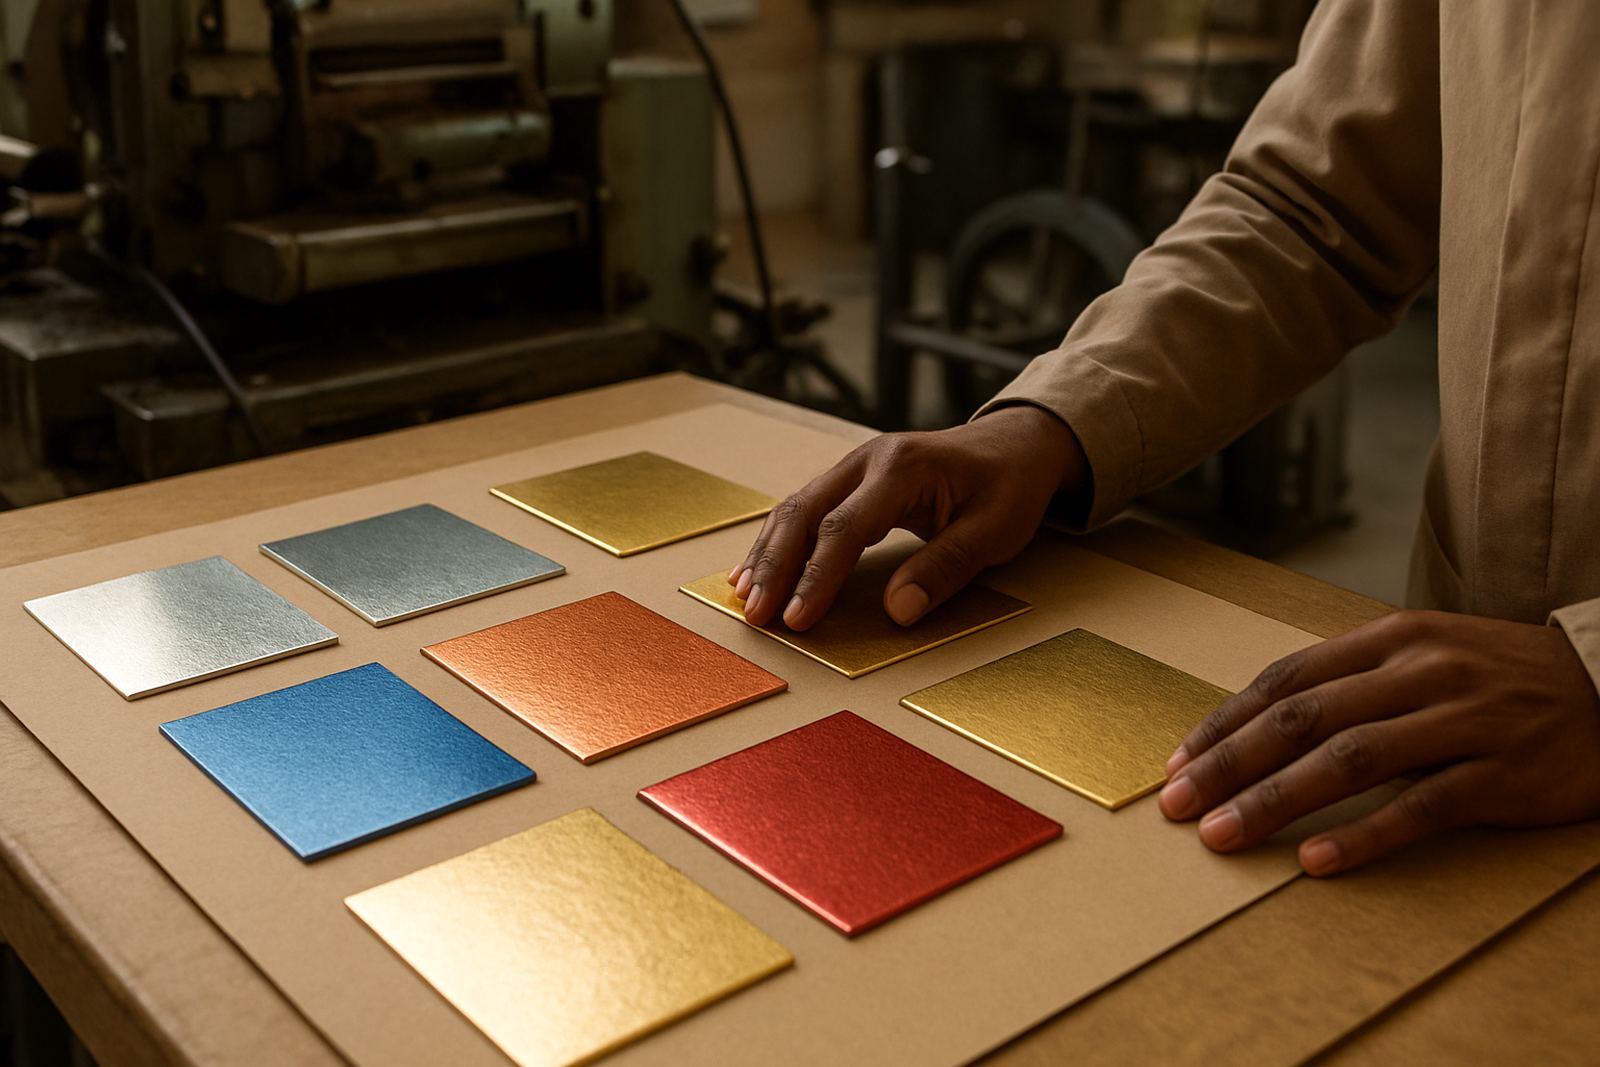
Foil looks sharp when it sits on a stable, smooth area of the panel. It struggles when it crosses heavy scoring, board caliper changes or a heavily textured sheet. On lighter cartons, a large foil block can split if the panel bends tightly inwards. On thick folding board, a deep emboss near a seam can create stress marks on the reverse side. The trick is to plan the embellishment around the board behaviour, not only the visual layout.
We often advise clients to keep fine lines and small lettering away from the sharpest folds. A solid crest, monogram or border can sit better than tiny detail if the pack has tight tolerances. If the pack will be handled in humid Durban conditions, or stored in a warehouse with changing temperature, you also want enough margin so the foil does not lift at the edges when the board moves. Small shifts in moisture can affect the finish more than people expect.
- Avoid crossing foil or emboss detail over the main crease unless there is a strong reason.
- Use wider clearance on folds for soft board or board with high fibre movement.
- Check whether the panel will be glued, tucked or locked after finishing.
Design Around the Seam, Glue Flap and Hidden Edges
The seam is often the least visible part of the carton, but it can create the biggest problem if the decoration sits there. A foil panel that runs into the glue flap may show a break once the carton is erected. Likewise, a blind emboss that lands across the seam can look uneven from one side to the other. Planning has to account for the hidden edge as well as the display face.
In practice, this means working closely with the artwork and prepress team before the die is engraved. The panel may need to be shifted a few millimetres, or the emboss border tightened so the finish stays clean on the front panel. For repeat orders, this also helps keep the job consistent if the carton size changes slightly or the board supplier changes. If the panel plan is saved properly, the next run is far easier to match.
- Keep premium detail off the glue flap unless it is part of a controlled wraparound design.
- Allow for side seam overlap on cartons that will be packed at speed.
- Check the finished blank before approving the die size.
Use Counterforce So the Emboss Holds Its Shape
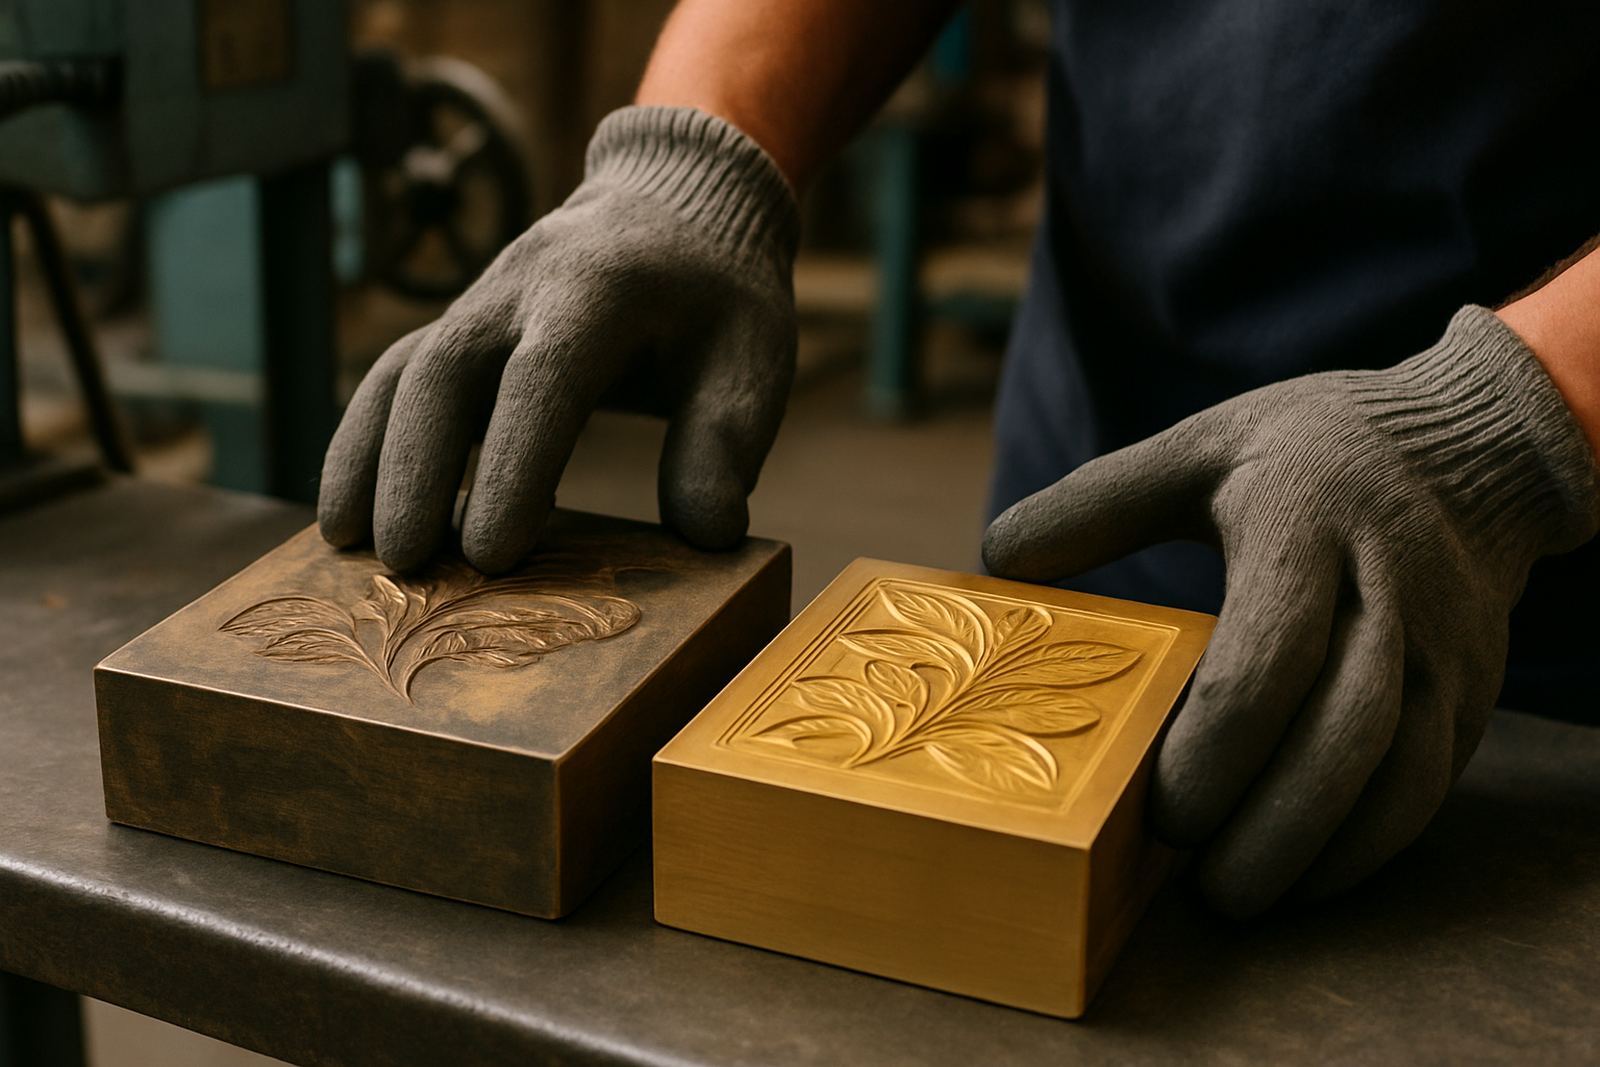
Embossing works best when the counterforce is matched to the board thickness and the level of pressure the carton can take. Too little counterforce and the image loses definition. Too much, and the board can crack or flatten around the detail. This becomes important on cartons with a mix of foil and emboss, where the pressure needs to be balanced carefully across the panel.
A well planned carton panel makes the counterforce easier to place. The engraved die, counterforce and carton structure must all agree with one another. On jobs with a deep logo or a raised border, we often suggest a sample impression before the full run, especially when the pack has a narrow shelf face or a highly visible top panel. That small check can prevent a batch being packed with uneven height or crushed detail.
For print finishers in Pretoria, Cape Town or Gqeberha, it is worth asking whether the carton will be folded by hand or on a machine. Machine folding can expose weak areas faster, while hand packing can hide a problem until later in the supply chain.
Plan for Folding, Packing and Transport Conditions
Carton panel planning should not stop at the decorated sheet. Once the pack is folded, packed and couriered, it still has to survive the trip and the warehouse. A carton going to a client in Polokwane or Mbombela may sit in heat for part of the journey, while a coastal delivery may face humidity that softens board edges. If the embellishment sits too close to a fold, transport movement can show up as scuffing or lifting by the time the cartons are opened.
This is why urgent turnaround jobs need disciplined packing and clear dispatch notes. The carton plan should indicate the top side, the face side and any no-pressure zones so the job is handled correctly from finishing right through to delivery. It sounds basic, but it prevents mix-ups when several packs are on the same table and the run is moving fast.
- Mark the display face clearly on the plan and on the sample.
- Allow extra care on jobs that will be stored for a while before packing.
- Keep a record of the approved panel layout for repeat ordering.
A Local Example From Industria to a National Pack Run
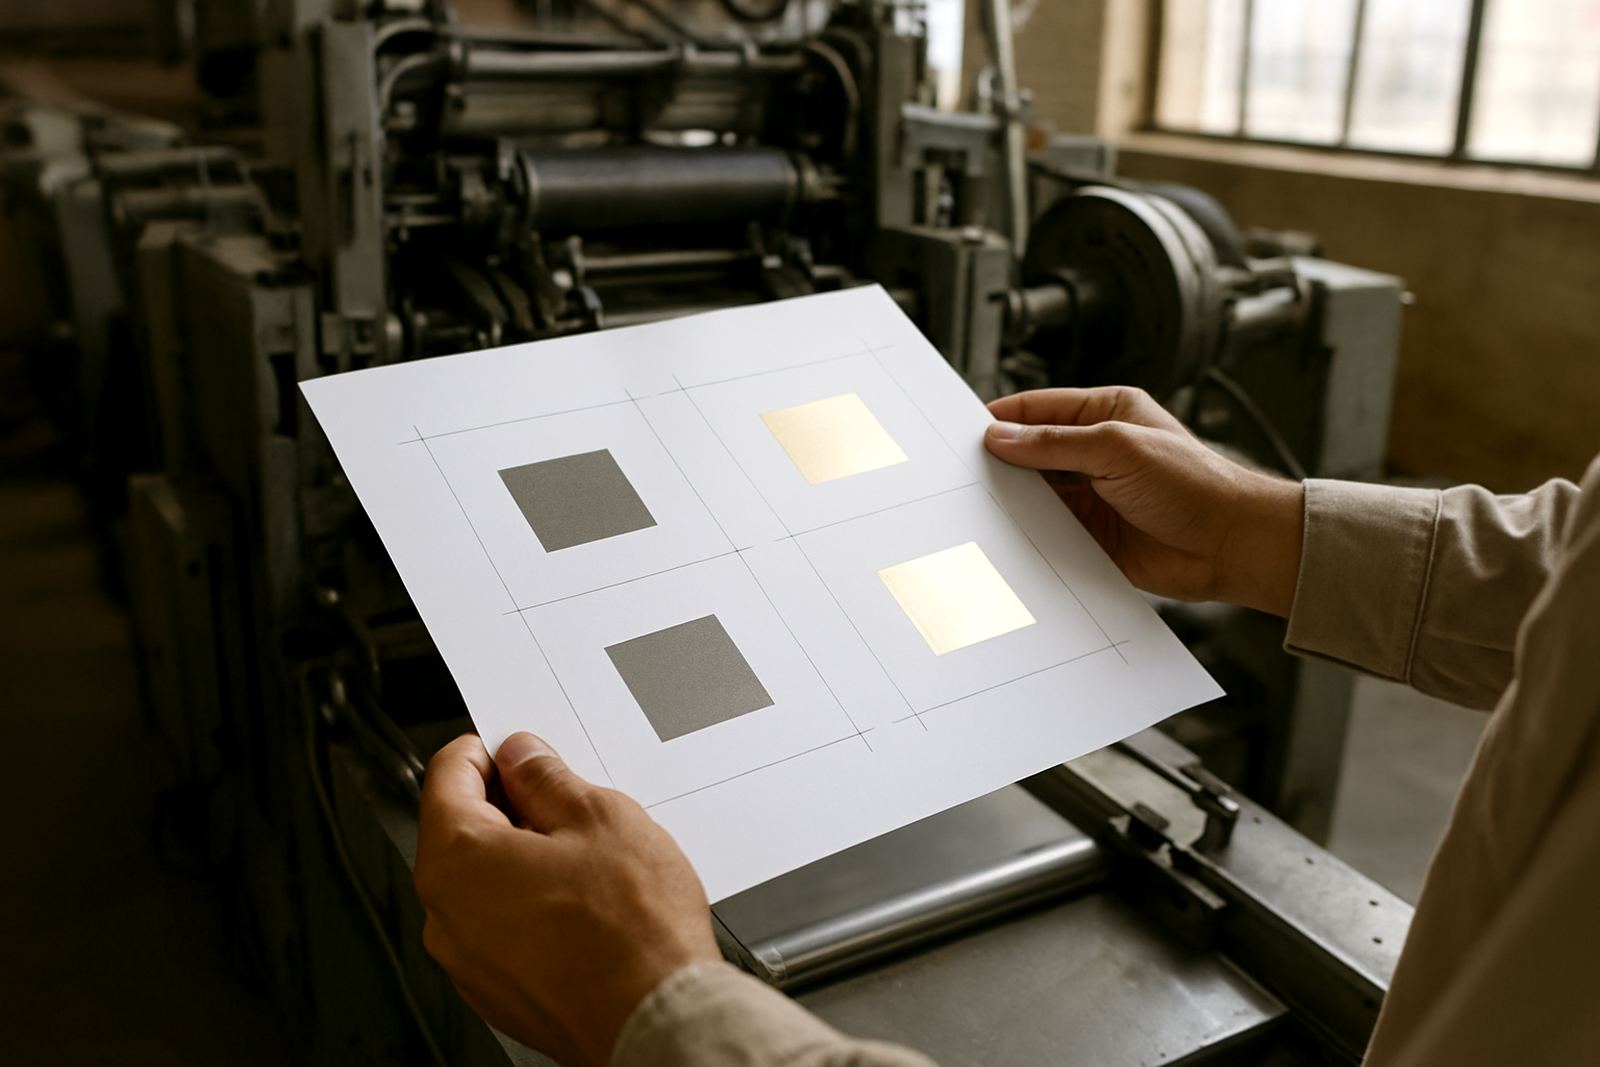
A common Johannesburg example is a premium carton for a skincare range with one front foil mark and a raised border. The first artwork layout looked good flat, but the logo sat too close to the top fold and the border ran into the side seam. On the sample impression, the top edge pressed unevenly and one side of the border looked thinner. After the panel was reworked, the foil moved 4 mm inward, the emboss border was shortened at the corner and the seam area was cleared. The second sample held properly and the cartons packed cleaner.
That is the value of careful panel planning. It is not only about making the decoration attractive. It is about making sure the finish survives folding, gluing, sealing and transport without losing detail. From Industria, Johannesburg, we work with printers, finishers and packagin houses across South Africa who need dies and embossing plates that fit the carton correctly the first time, with proper artwork checks, damage assessment and repeat ordering support when the next run comes back.