
When Self Adhesive Labels Need More Than Print
Labels for wine, cosmetics, food jars, chemicals, and retail packs often need a finished touch that print alone cannot give. A small hot stamping die can add foil, a blind impression, or a pressed detail that lifts the label off the shelf without changing the whole print run.
Because self adhesive stocks vary a lot, the same design can behave very differently on coated paper, synthetic films, textured papers, or clear label material. A label that runs well on a flat sheet may show pickup, spread, or a weak impression once it is fed through a finishing line. That is why we look at the full job, not only the artwork.
In practice, the best results come when the die is planned around the label shape, the press setup, and the adhesive layer underneath. Small elements need clear spacing, and fine text must be set with enough weight so it stays readable after heat and pressure.
Typical Equipment Set On Label Finishing Lines
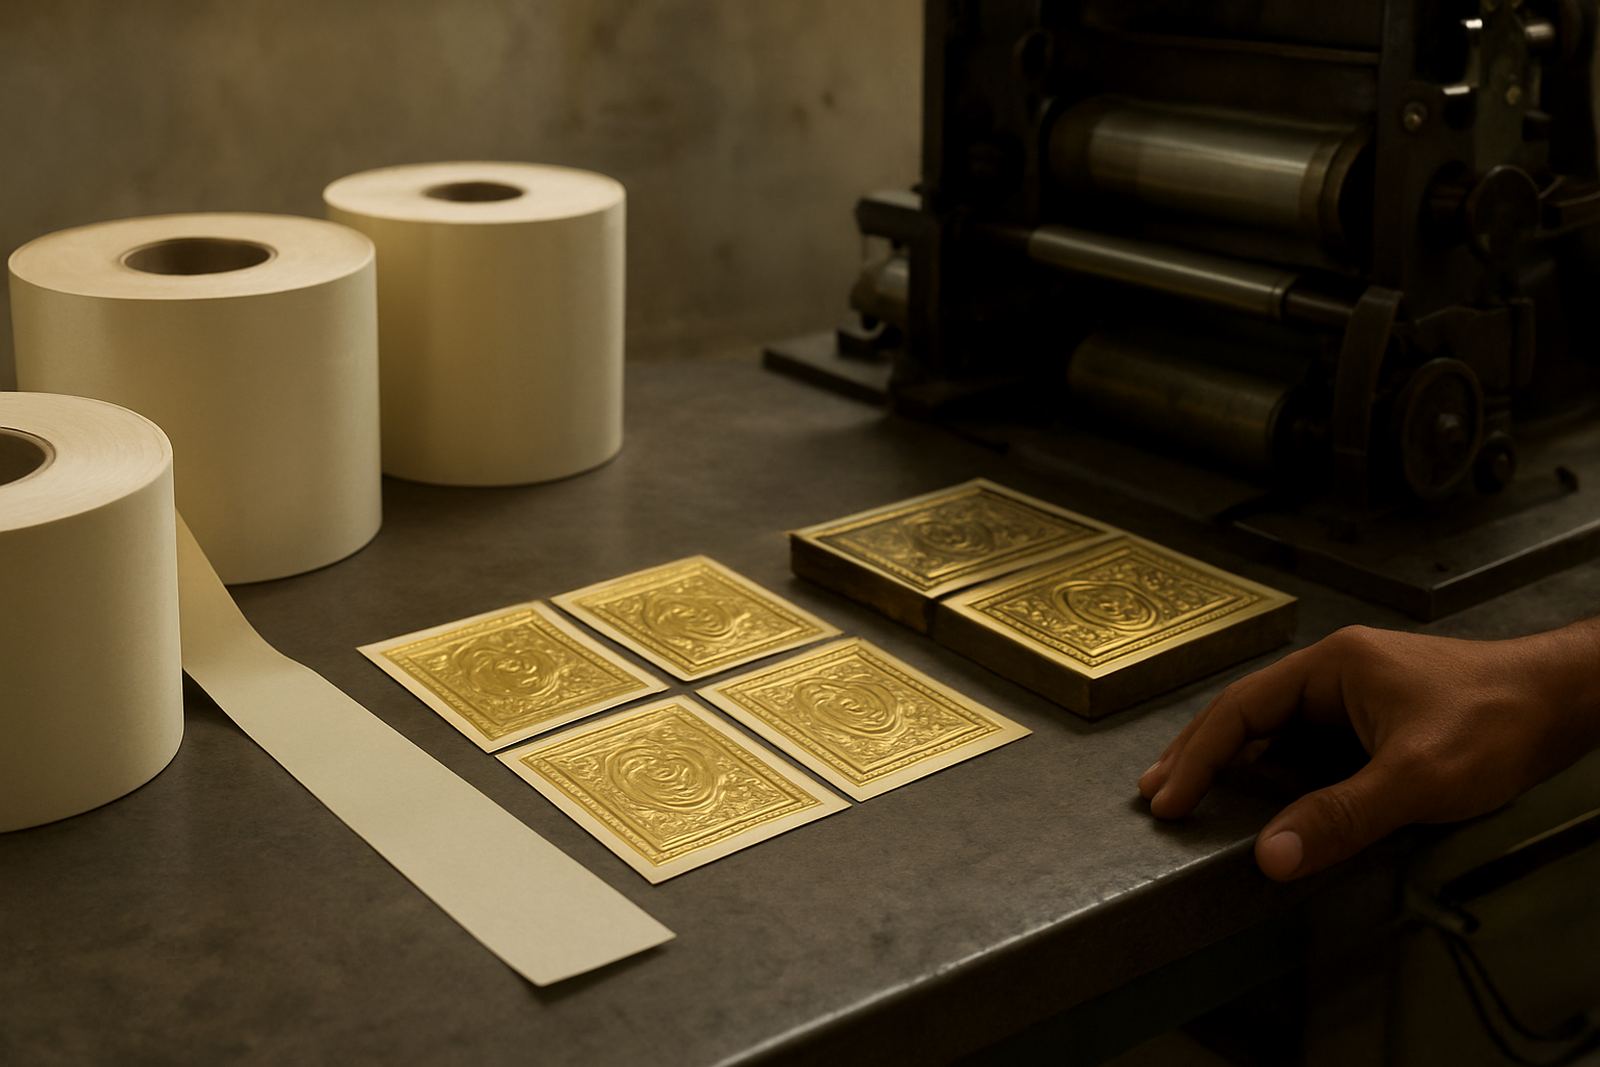
Most self adhesive label jobs move through a combination of print and finishing equipment. The exact setup depends on the plant, but the usual line will include a press, a die station, rewind and slitting sections, and in some cases a separate foil or emboss pass. Where stock is sensitive to heat, the operator may need to slow the line down a bit and adjust pressure carefully.
- Rotary or flatbed finishing line for cut, foil, or emboss work
- Label stock in paper, polypropylene, or other synthetic material
- Foil areas that need a clean edge and even transfer
- Counterforce support where a raised impression must stay sharp
- Samples for checking release, registration, and laydown before full production
In humid coastal towns like Durban or Gqeberha, and even in rooms where aircon cycles hard, the label face material can shift slightly. That is one reason we check the stock type and the way it feeds before engraving starts. In Johannesburg and Pretoria, dust and static can also affect fine detail if the job is not planned properly.
Die Design Choices That Keep Small Labels Clean
Self adhesive labels often have a tight layout, so die size matters. A compact die keeps the image controlled and helps with repeatability when the same artwork is ordered again. If the design has a border, tiny lettering, or a foil badge, the die needs proper margins so the result does not look crowded.
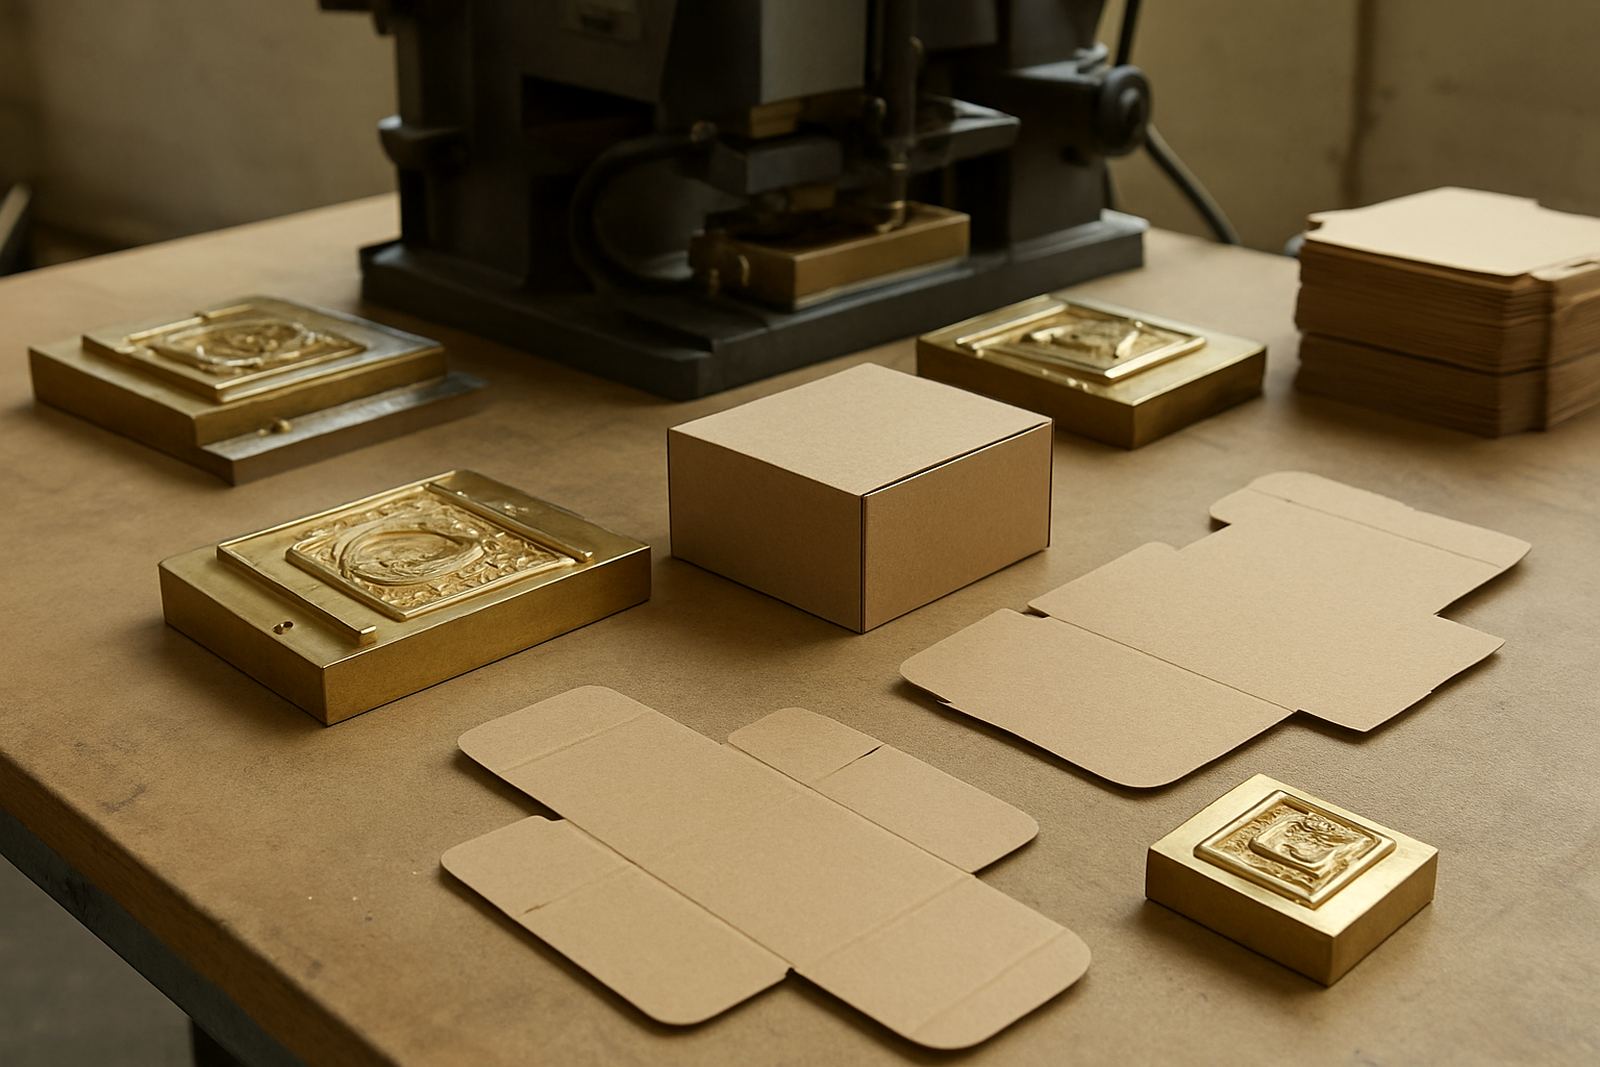
For clean label work, we usually look at stroke width, reverse spaces, and how much pressure the substrate can take. Magnesium suits lighter duty and quick turnaround work. Brass is better when the label has heavier detail, deeper impression, or repeated use over time. If the design must hold up across multiple runs, brass usually gives better life.
- Keep fine text slightly larger than you think you need
- Avoid very thin lines on textured or soft face stocks
- Leave enough clear space around the stamped area
- Check whether the foil patch will sit inside a cut label or across a contour
- Allow for register marks if the print finisher needs repeat alignment
Common Planning Mistakes On Label Jobs
One common mistake is sending artwork that looks fine on screen but does not suit heat and pressure. Very light type, small hairlines, and crowded artwork can disappear once the die is made. Another issue is forgetting that the label face, adhesive, and liner all react differently during finishing.
We also see jobs where the client orders the die without checking the way the label is cut from the sheet or roll. If the cut line sits too close to the stamped area, the edge may lift or distort. For roll labels, the rewind direction and web tension matter too, especially on longer runs and faster machines.
Load-shedding can also interrupt press planning, so it helps to build in a little lead time for urgent jobs. If a label order needs to go out to Cape Town, Polokwane, or Mbombela on a fixed dispatch day, it is better to confirm the artwork early and avoid last minute changes.
Budget Ranges For Brass And Magnesium Label Dies
Budget depends on size, detail, material choice, and whether the job needs a standard die or a more specialised set with matching counterforce. Small magnesium dies for simple label marks are usually the lower-cost option. Brass dies cost more, but they last longer and handle more pressure, finer engraving, and repeat orders better.
As a practical guide, simple label dies can start from about R850 to R1 800 for small, low-detail work. Mid-range jobs with tighter detail, better finish, or moderate size often sit between R1 800 and R4 500. Larger or more complex brass work, especially where emboss depth or exact repeat performance is required, can range from R4 500 to R12 000 or more.
If a label job includes alterations to an existing die, cleaning, or damage assessment, the cost is usually lower than a full remake. Repeats are often the best value when the original file and file notes are still in good order, and that saves time too.
How We Handle Artwork, Dispatch, And Repeat Orders
Our process is straightforward. We check the artwork, confirm the die size, and advise on any issues before production starts. If the image needs adjustment for line weight, spacing, or stamping depth, we raise it early so the finisher is not left with a problem on the machine.
Once the die is complete, we pack it carefully for courier dispatch from Industria, Johannesburg to printing and finishing teams nationwide. Repeat ordering is easier when the original job is filed properly, because the details of the die, counterforce, and layout notes are already on record. That helps with speed and keeps the next run consistent.
- Artwork checks before engraving begins
- Job filing for easier repeat production
- Packing and dispatch to major centres and smaller towns
- Advice on sample impressions before the full run
- Support with die alterations if the label layout changes later
For self adhesive labels, the best results come from simple planning and accurate tooling. If the artwork is tidy and the material choice is clear, the finished label looks sharper and the run is easier to manage.