
Start with the artwork against the final brief
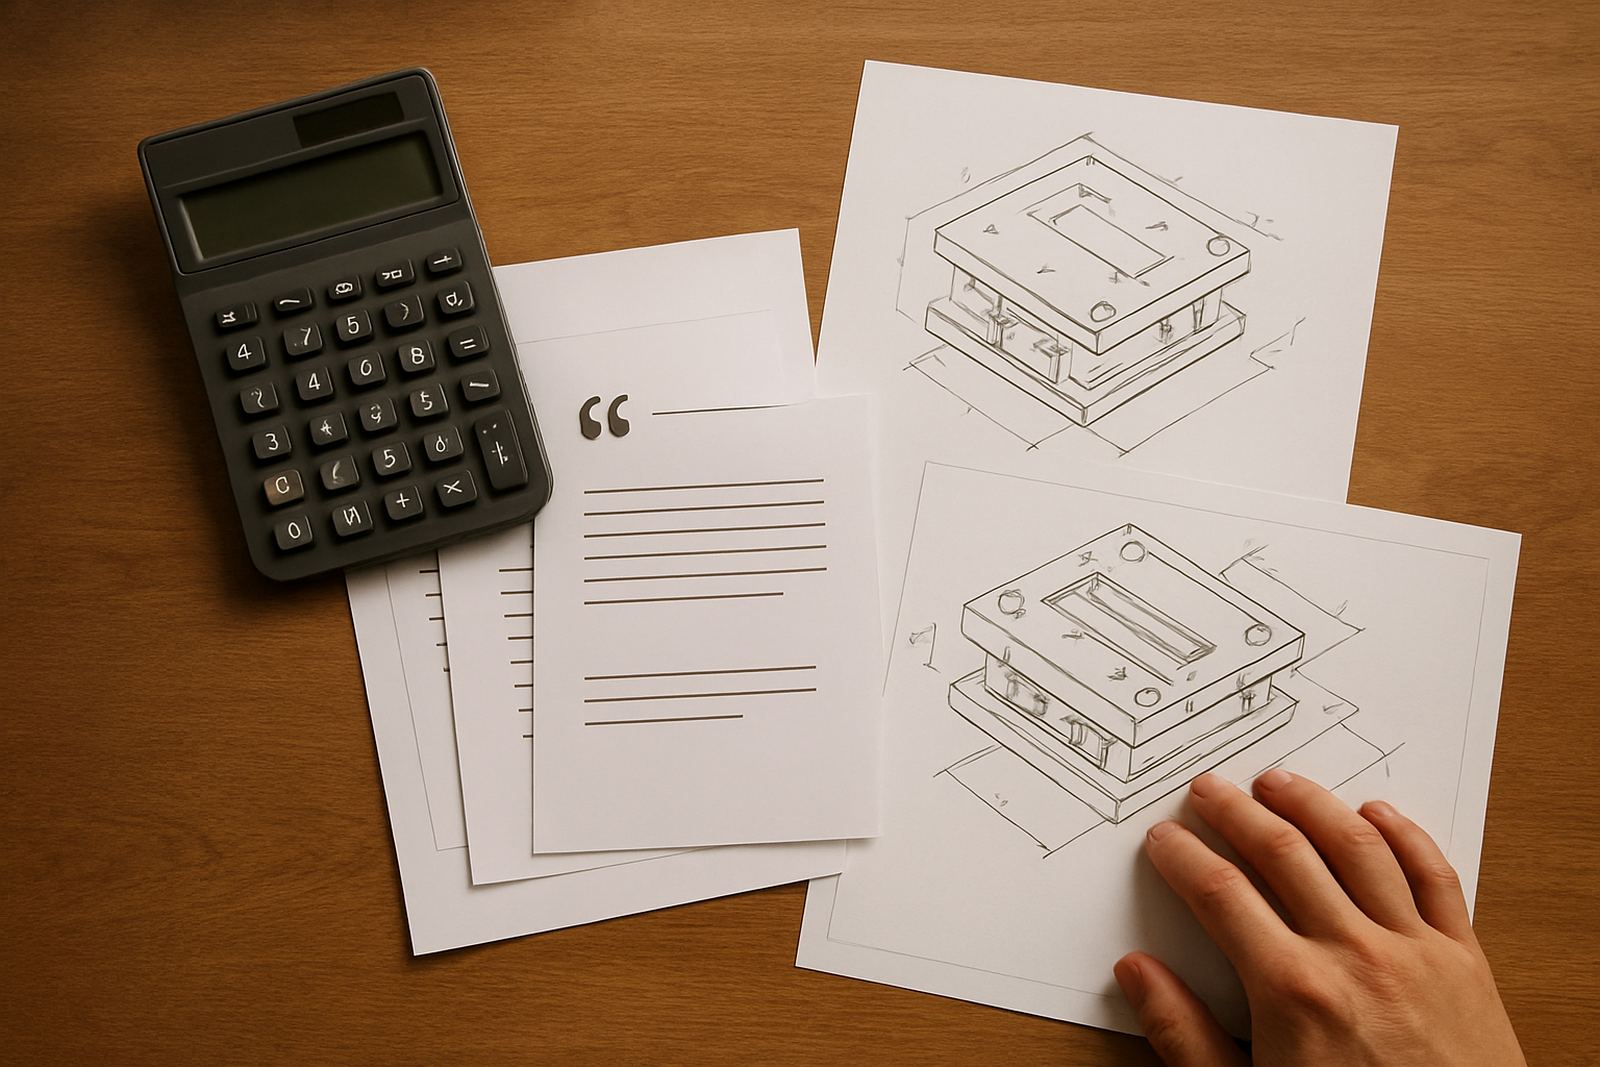
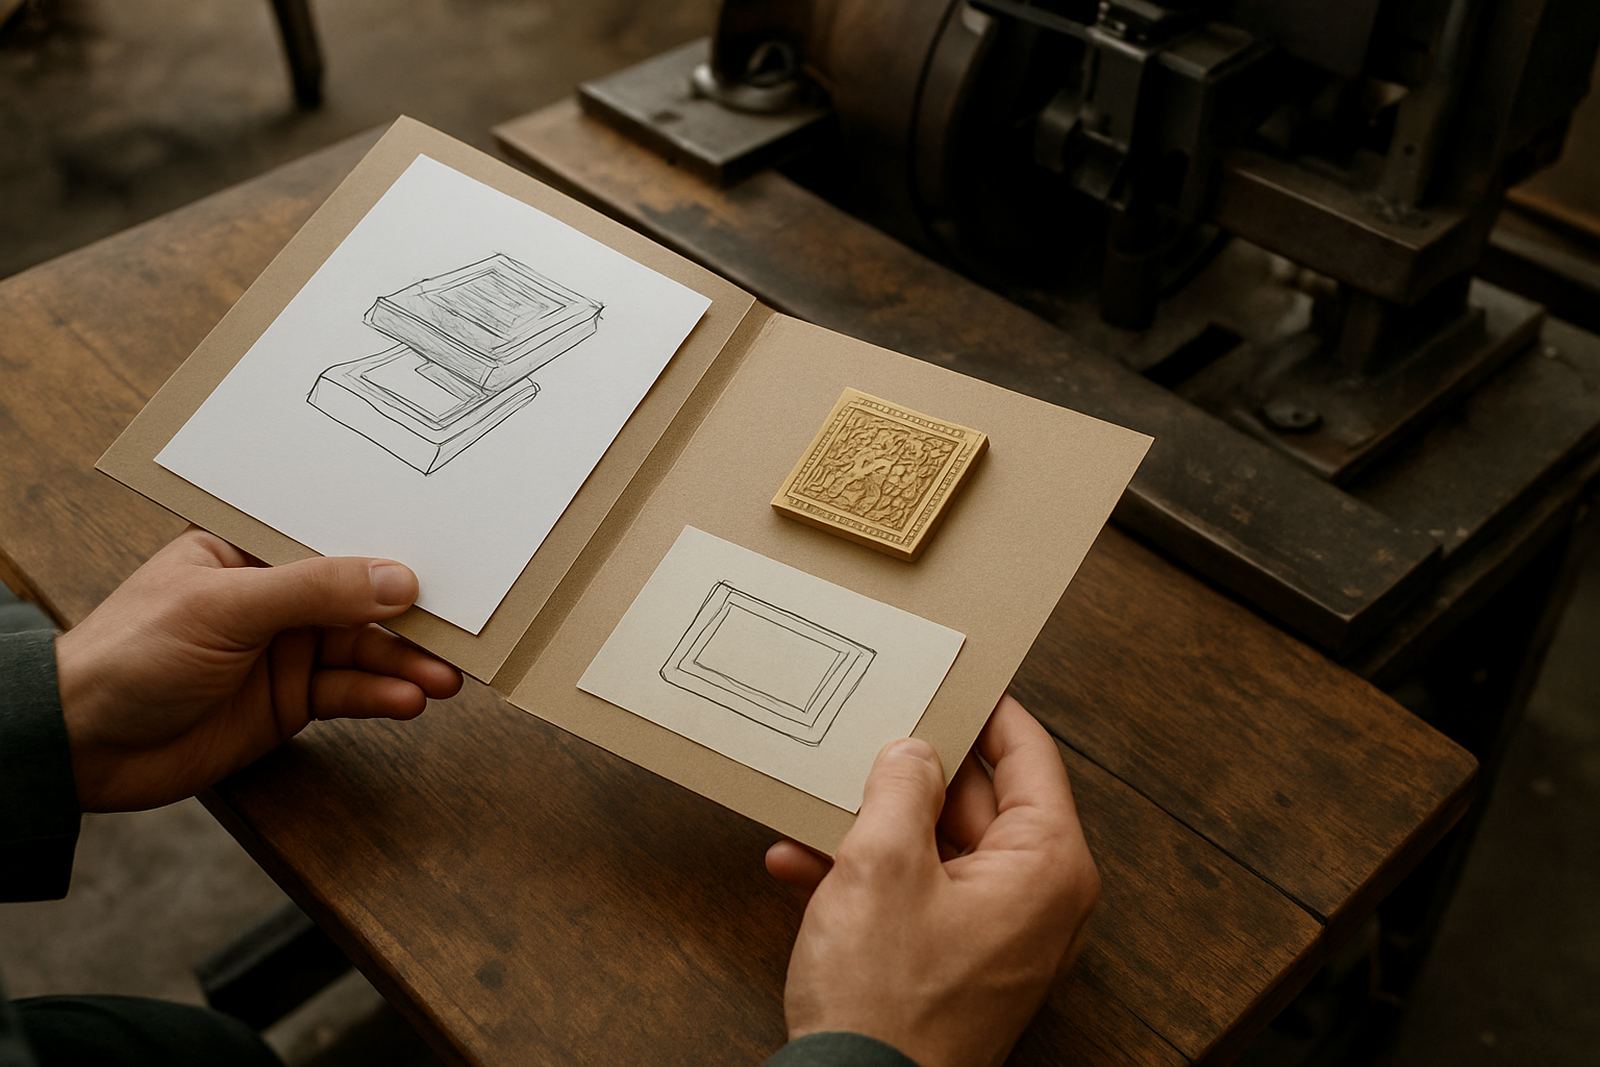
Compare the proof to the approved artwork, not to memory. Check spelling, logo spacing, line weight, fine detail and any small type that may close up during stamping or embossing. If the job is for packaging, confirm the final panel size, fold lines, flap positions and where the stamped area sits on the carton or label.
Also confirm that the proof matches the intended finish. A brass die, magnesium die or embossing plate can behave differently depending on substrate, pressure and heat, so the approved artwork should already reflect the exact job setup. If the foil area is too tight or a reverse line is too thin, ask for correction before production starts.
- Check names, dates, part numbers and legal copy
- Confirm size, scale and placement on the substrate
- Look for missing elements, broken lines or blurred fine detail
- Make sure the finish type matches the job brief
Read the layout marks and technical notes carefully
Most sample proofs carry marks, annotations or measurements that show where the die will sit. Review them line by line. If the job is for offset, flexo or print finishing, even a small shift in position can throw the whole run off. A 2 mm error on a neat carton face may be obvious once the box is folded and glued.
Check whether the proof shows centre lines, registration points, die orientation and any grain direction notes. On heavier board, grain can affect how cleanly an emboss raises. In coastal areas like Durban or Gqeberha, humidity can also change board behaviour from one day to the next, so those notes matter when planning the run.
- Verify centre marks and registration points
- Check die orientation and reading direction
- Confirm measurements on all sides, not just one edge
- Note any grain, board or substrate instructions
Judge the impression depth, sharpness and pressure
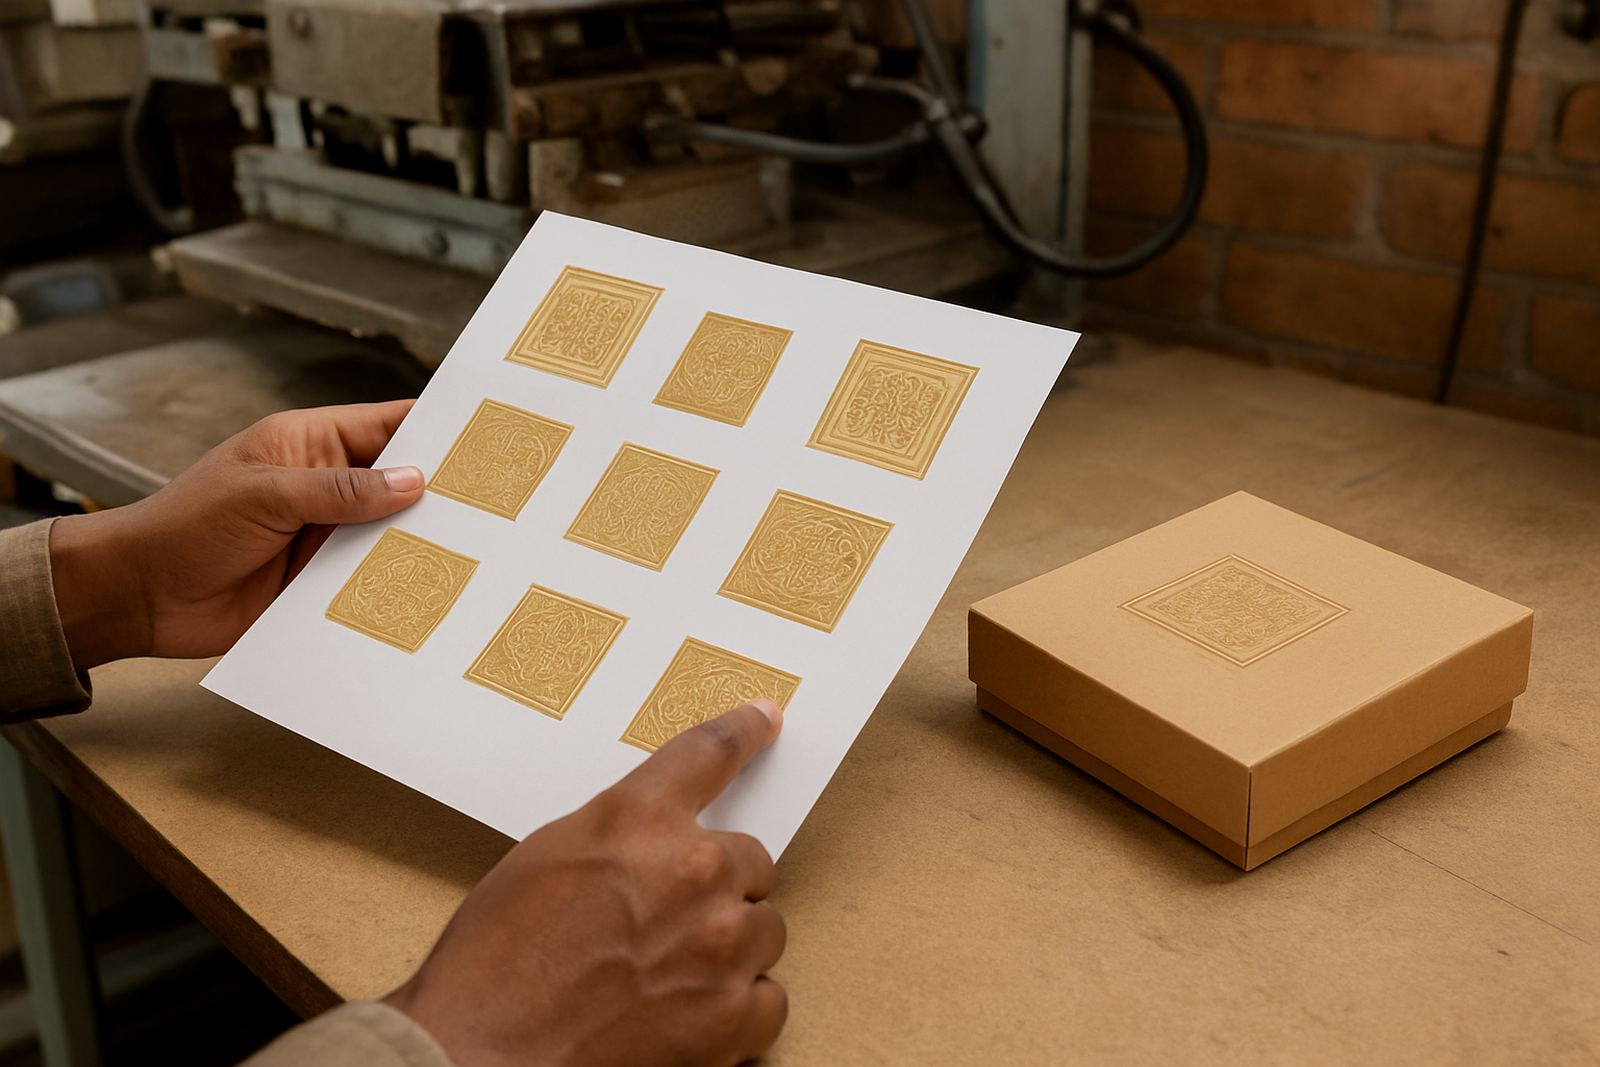
A sample impression should show whether the die is cutting or pressing cleanly. Look for crisp edges, even depth and no over-crushing. If the impression is too shallow, the result may disappear on textured stock. If it is too deep, the reverse side of the board may show distortion or cracking, especially on thinner paper or soft packaging board.
For embossing, check that the relief has enough definition without flattening nearby print. For hot stamping, look for clear foil transfer and no patchy areas at corners or fine details. A good sample should show a balanced result across the full image, not strong on one side and weak on the other. That sort of variation usually means the counterforce or pressure setup needs attention.
- Check for even pressure across the full design
- Look at corners, hairlines and small text first
- Inspect both the front and reverse side if possible
- Watch for crushing, feathering or foil gaps
Confirm the counterforce and substrate match
Counterforce matching is one of the most important parts of sample approval. The die must work with the board, label stock or foil board that will be used on the actual job. If the counterforce is too soft, the stamp may lose shape. If it is too hard, the impression may be too aggressive and the paper can mark or split.
Ask whether the proof was made on the same substrate thickness and finish as the final run. Coated board, uncoated stock and specialty packaging materials all react differently. A sample that looks fine on one sheet can behave differently once production starts on a full pallet, especially when warehouse temperature changes through the day and loads are moved between stores and finishing rooms.
- Confirm the exact substrate and thickness
- Check whether the counterforce matches the job material
- Ask if the proof was run under production settings or test settings
- Review whether the finish stays consistent across multiple impressions
Look for signs the die needs adjustment before signing off
If anything looks off, flag it immediately. Common issues include text that is too close to the edge, a logo that sits slightly high, open corners, weak transfers in the centre or a repeat job that no longer matches the saved file. Small corrections are usually easier before engraving is finalised than after the die has been couriered to your finishing floor.
When approving repeat ordering, compare the sample proof with the last accepted job file, not just with the current artwork. Print houses in Johannesburg, Pretoria, Cape Town and Durban often keep multiple versions in circulation, and one old revision can cause costly rework. If the sample is for an urgent turnaround, take the same care. Speed is useful, but accuracy is what keeps the run moving.
- Check for position shifts, weak detail or broken lines
- Compare against the last approved job file for repeats
- Ask for changes before authorising engraving or dispatch
- Record any special instructions for the next order
Use a simple approval checklist before the job is released
Keep a short approval record for every sample proof. This helps with future repeats, alterations and damage assessment. It also makes it easier for the team to see exactly what was approved, who signed off and which version must be filed. A clean job file saves time when you need the same die again next month or next quarter.
Before approval, check that the proof has the correct customer name, job reference, dimensions and finish notes. If you need packing or dispatch to another site, confirm the delivery area and turnaround window so the die reaches the right finish line on time. For clients in Polokwane, Mbombela, Bloemfontein or Gqeberha, a well-timed courier can be the difference between a smooth schedule and a missed production slot.
- Approved artwork and proof version match
- Dimensions, substrate and finish notes are correct
- Any changes have been written down clearly
- Dispatch details and job file reference are confirmed