
Start with the job purpose, not the decoration
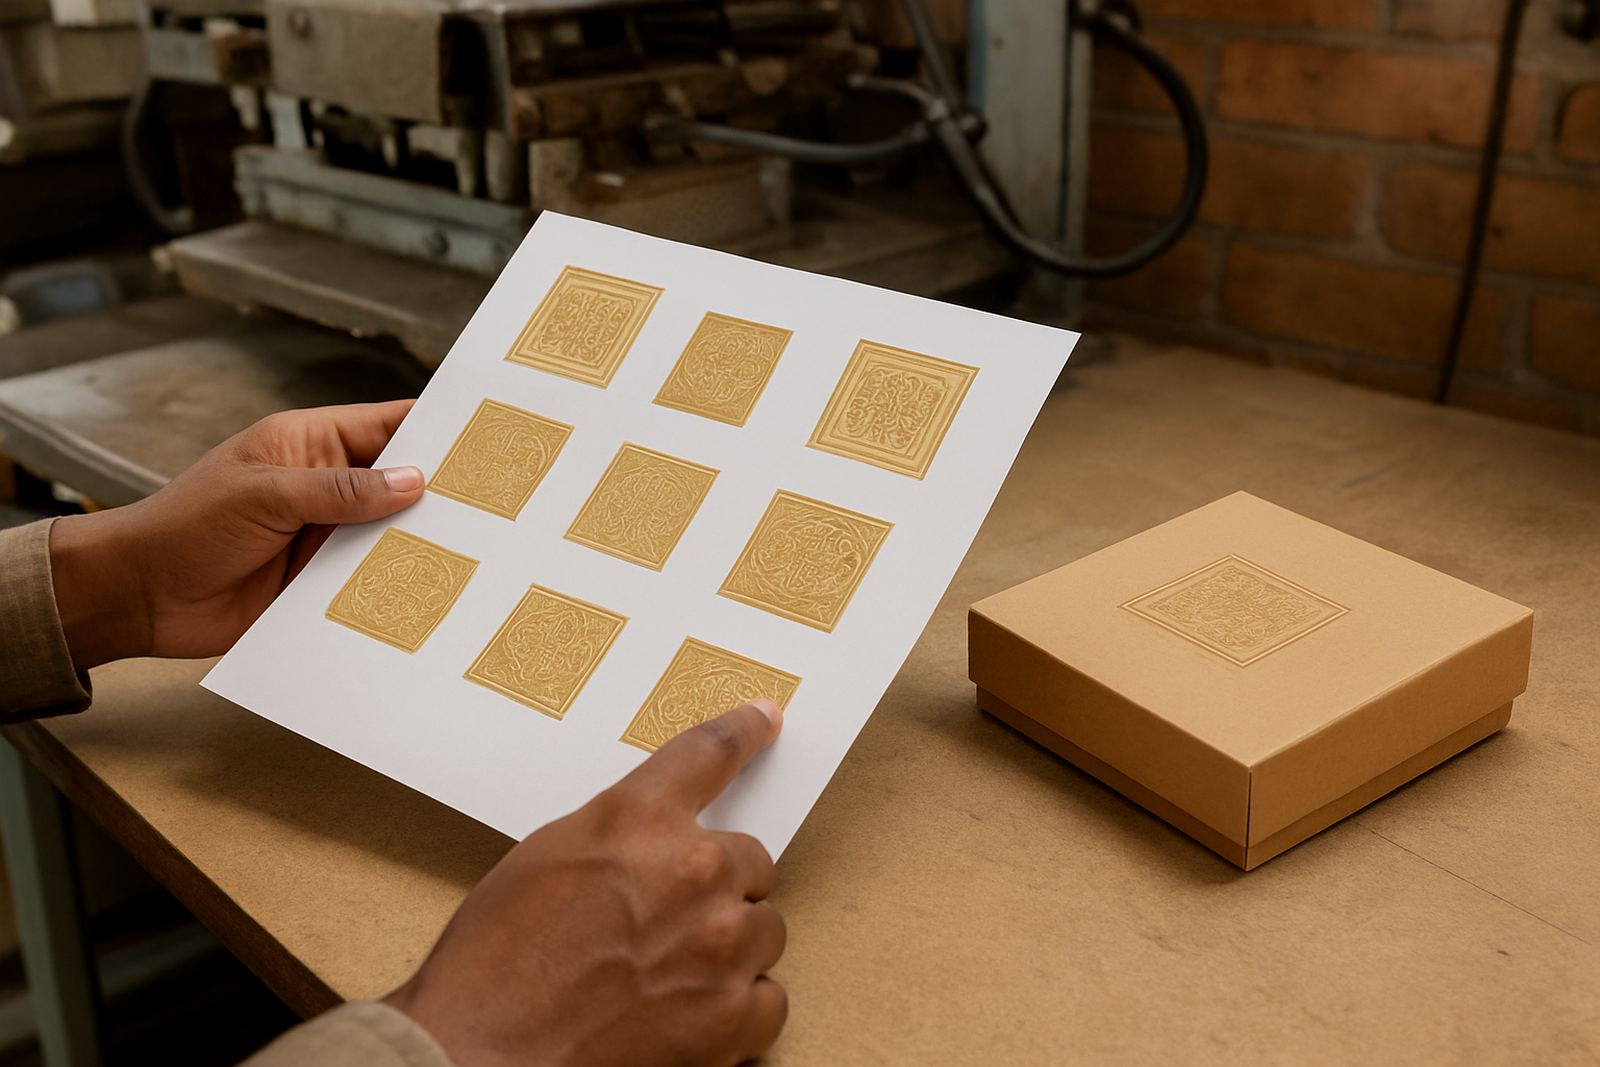
Before you choose where the foil goes, decide what it must do on the finished piece. Is it meant to catch light on a carton front, highlight a logo on a label, or add a premium accent on a short-run invitation? That answer changes the size, position, and detail of the foil area. A panel that looks strong on screen can become too busy once it is stamped onto board, film, or coated paper.
For offset, flexo, and print finishing work, the best foil areas are usually the ones that support the brand rather than fight it. Keep the main message simple. On folding cartons, leave enough breathing space around the foil so the pack still looks clean when glued, folded, and stacked. On presentation pieces, make sure the foil does not disappear into a busy background or sit too close to folds and cuts.
As a rule, decide early whether the foil is a headline feature or a supporting detail. That choice will guide the die size, counterforce, and the way the sheet is laid out for production.
Choose foil positions that print and bind cleanly
The best-looking foil area is not always the best-running one. Position matters. Avoid placing fine foil detail across folds, scores, seams, flaps, or glue areas unless the structure has been checked first. A small shift in board grain or caliper can make a neat design crack, miss, or lift once the job is creased.
Think about how the item will move through finishing and packing. If the foil sits near an edge, allow enough trim tolerance so the image does not appear clipped. If it is on a pocket, sleeve, or carton face, check the final product size after die-cutting not just the flat artwork. This is especially important when the job is being couriered nationwide from Johannesburg to print finishers in Durban, Cape Town, Pretoria, or Gqeberha, because the same file may need to work across different production setups.
- Keep foil away from score lines unless the fold is tested first.
- Leave trim room so the image does not sit too close to the cut edge.
- Check for glue flaps, windows, and gussets before approving the position.
- Make sure the foil area still reads clearly at the final viewing distance.
Keep detail within what the die can hold
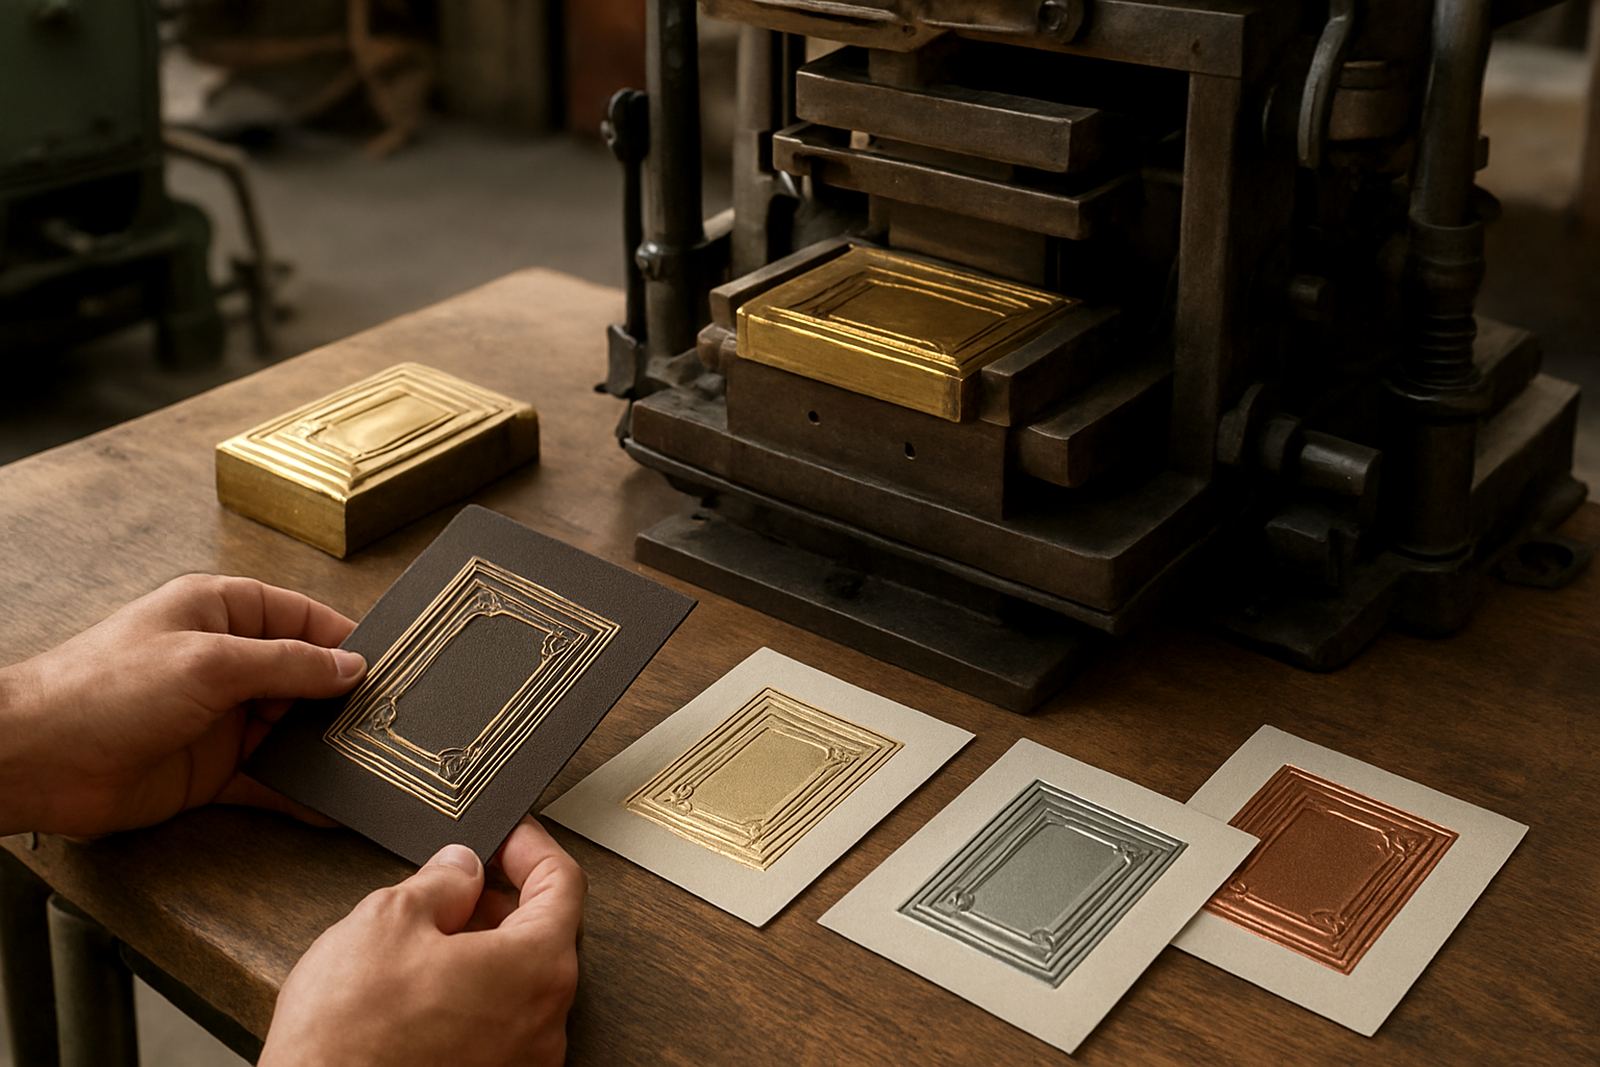
Hot foil looks sharp, but it still has practical limits. Very fine lines, tiny reversed text, and tight pattern fills can lose clarity if the artwork is too busy. Brass dies are often chosen where detail and repeat use matter, while magnesium dies are useful for certain shorter or lighter applications. The right choice depends on the job, the substrate, and the amount of pressure the press will apply.
When planning foil areas, use shapes that have enough mass to transfer cleanly. Thin serifs, hairline rules, and small enclosed spaces can fill unevenly or break up during the run. If the design needs intricate detail, ask for an artwork check before the die is made. That avoids wasting time on a plate or die that is too fine for the actual print finish.
- Use bold logos and clear letterforms where possible.
- Allow enough space between parallel lines so the foil does not bridge.
- Avoid tiny counters in letters if the result must stay legible on textured stock.
- Test complex artwork on the same board or paper that will be used for the final run.
Build the foil area around the stock and finish
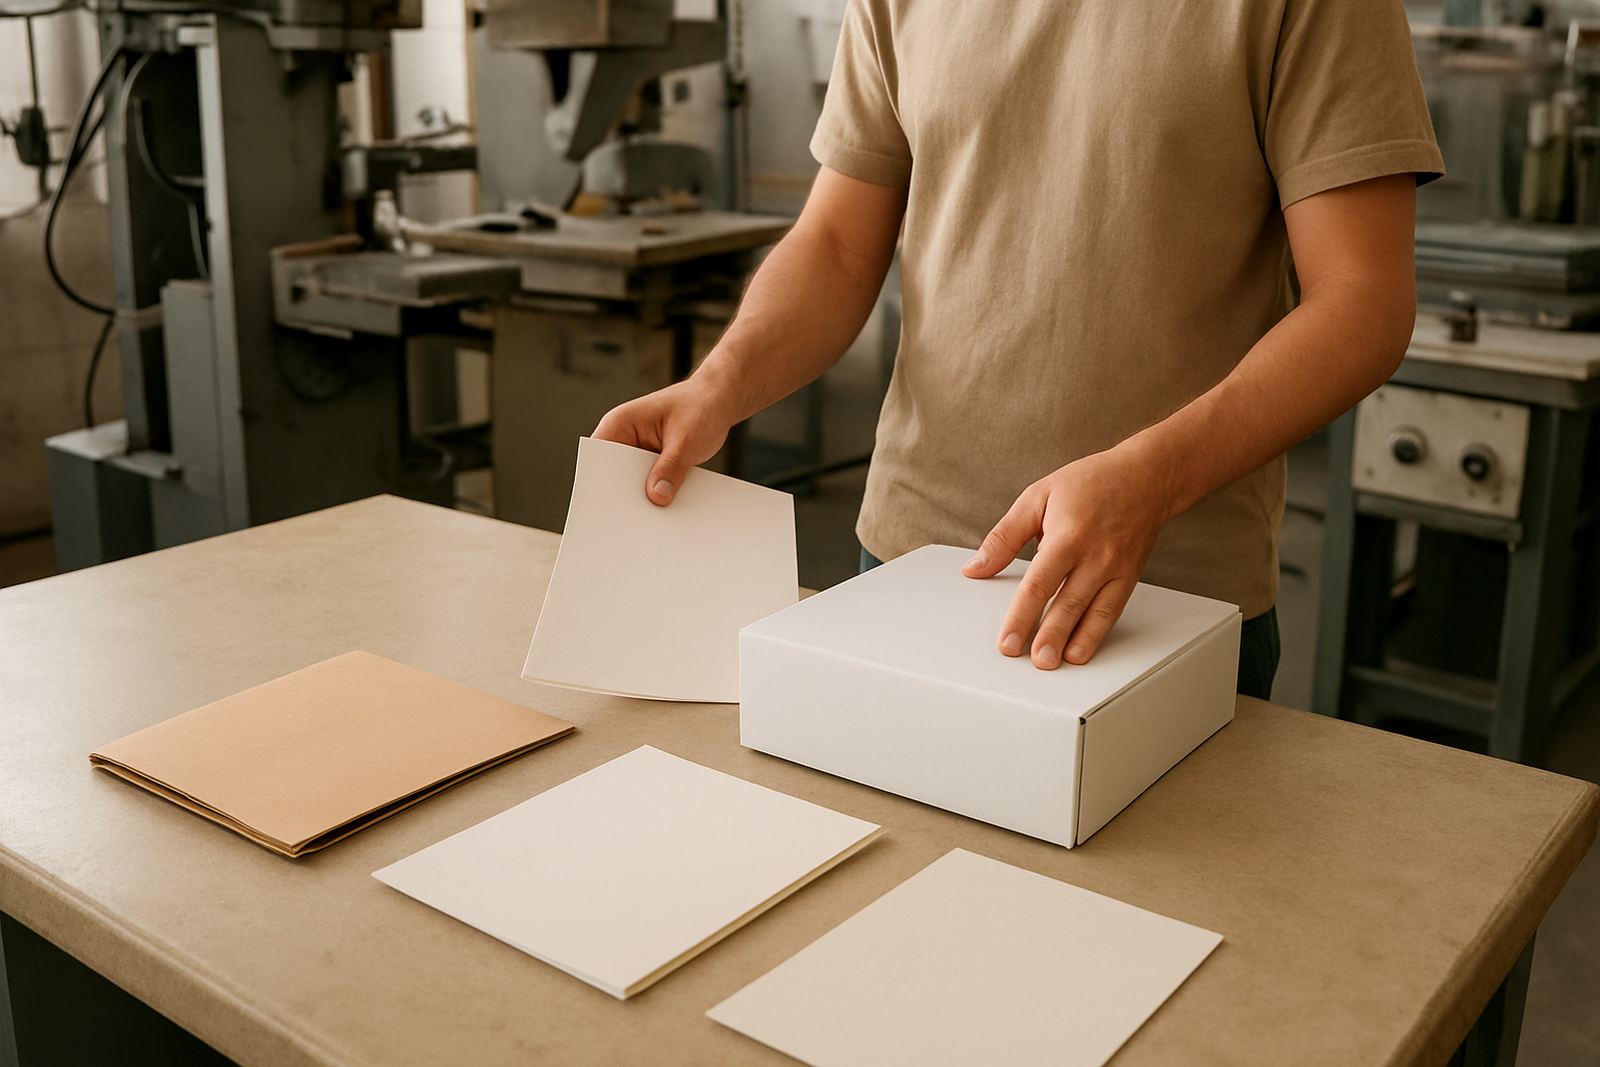
Paper, board, synthetic sheets, and coated stocks all behave differently. A foil area that works on smooth art board may not behave the same way on textured paper or a heavy folded carton. Humidity, storage, and temperature can also change the result, especially in coastal areas like Durban and Gqeberha where stock can pick up moisture quickly. That means the foil position should be planned with the material in mind, not copied from one job to the next.
If the job will be varnished, laminated, embossed, or folded after stamping, factor those steps into the layout. A foil panel that sits too close to a high-build coating or emboss can look uneven. It helps to discuss sample impression advice early, so the area can be matched to the press setup and the expected counterforce. In Johannesburg winters or during load-shedding interruptions, stock handling can change from hour to hour, so a practical layout is always safer than a delicate one.
Check the artwork before engraving starts
Good planning saves repeat work. Before engraving starts, the artwork should be checked for spelling, spacing, line weight, and position. Small errors become costly once a die is cut. If the foil area is being used on repeat orders, keep the approved version filed clearly so the same layout can be produced again without confusion.
Useful prepress checks include size confirmation, image placement, and whether the foil sits correctly against the printed artwork. A shifted logo, missing outline, or poor overlap can make the final piece look untidy even if the die itself is accurate. The more straightforward the file, the easier the engraving production and the more reliable the repeat order will be later.
- Confirm final trim size and bleed before the die is cut.
- Check that all text is correct and not too small for transfer.
- Mark the foil area clearly against folds, cuts, and embossed sections.
- Keep an approved file record for future reorders or die alterations.
Plan for press setup, packing, and dispatch
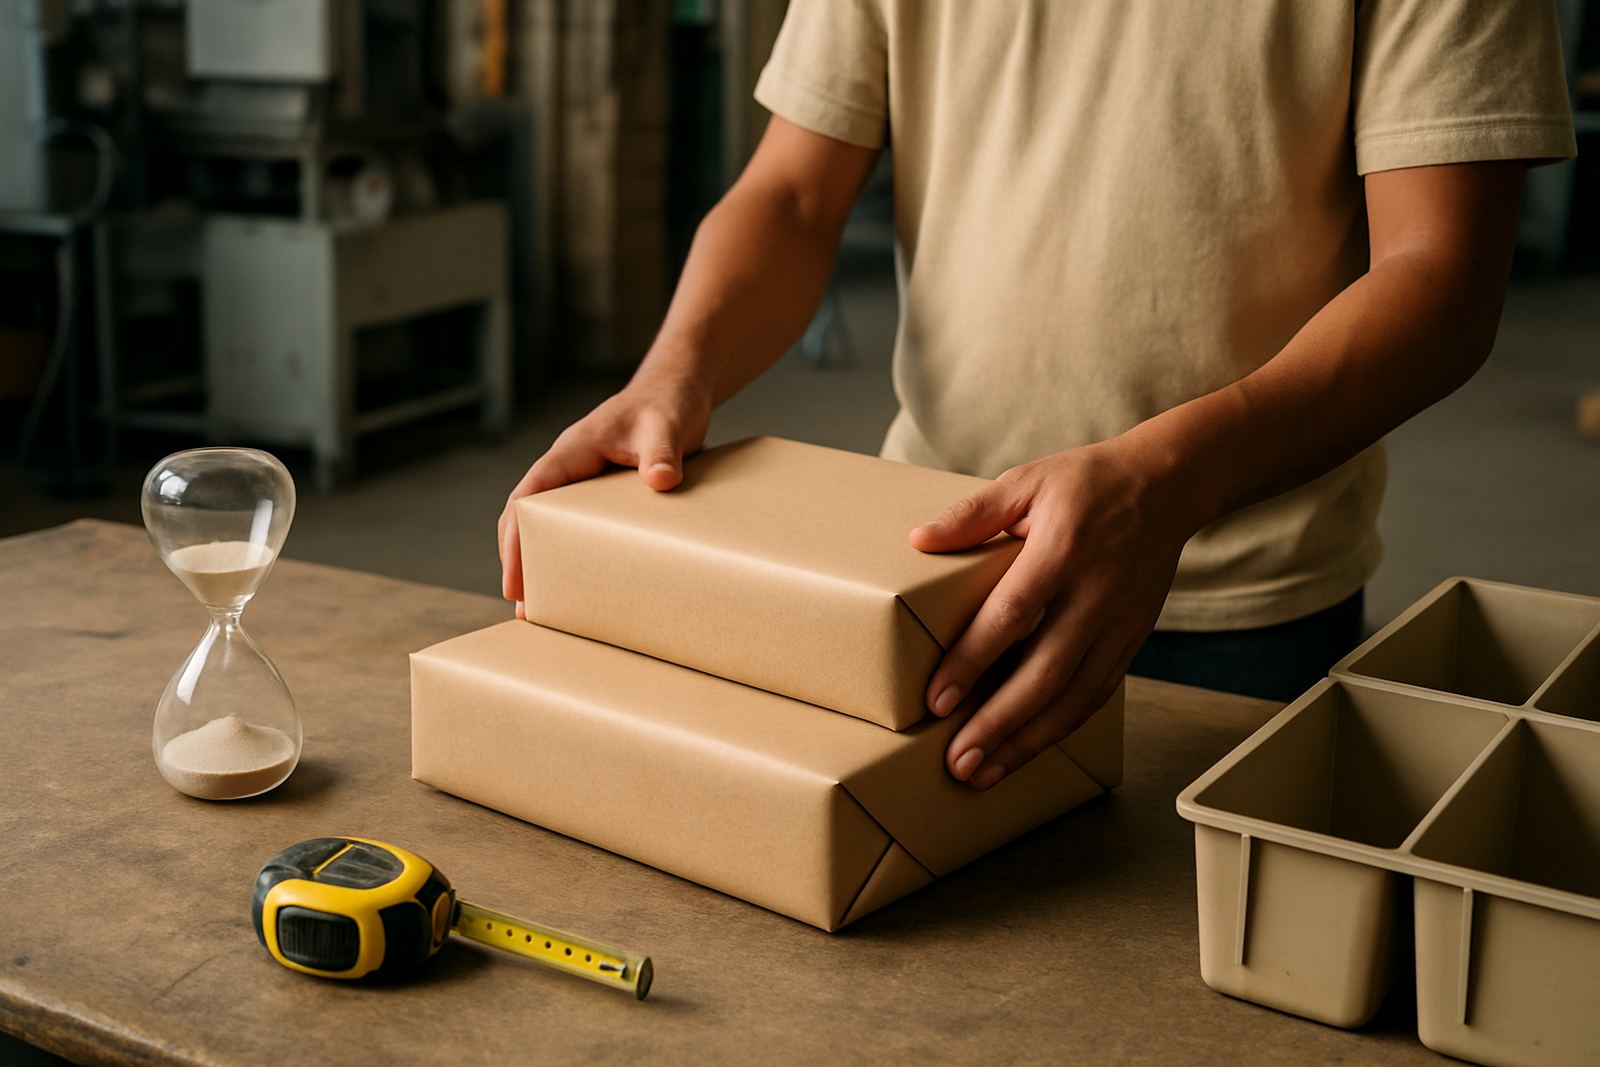
A foil job does not end at the die. The way it is packed, labelled, and dispatched can affect whether the finisher gets a clean result on arrival. Dies and embossing plates should be protected during courier transport so the working face does not pick up damage. In South Africa, where jobs are often sent between Johannesburg, Pretoria, Bloemfontein, Polokwane, Mbombela, and further afield, strong packing matters just as much as the engraving itself.
For urgent turnaround work, it helps to keep the job file complete: artwork notes, die size, board details, and any special instructions for sample impression or counterforce matching. That gives the production team a clear record and makes job filing easier if the same pack needs attention later. If a die comes back for cleaning or damage assessment, the original foil plan is still available and the next step is quicker.
A well-planned foil area should run cleanly, read well, and fit the production line without unnecessary adjustments. That is the real measure of a good job.