
Why cleaning method matters on fine engraved dies
Hot-stamping dies are not the place for rough scrubbing or strong solvents used without care. Brass and magnesium both carry fine detail that can be damaged by abrasive pads, wire brushes or over-wet cleaning, especially when a job has small type, hairline rules or tight artwork. One careless clean can shorten the life of a die that should have handled many more runs.
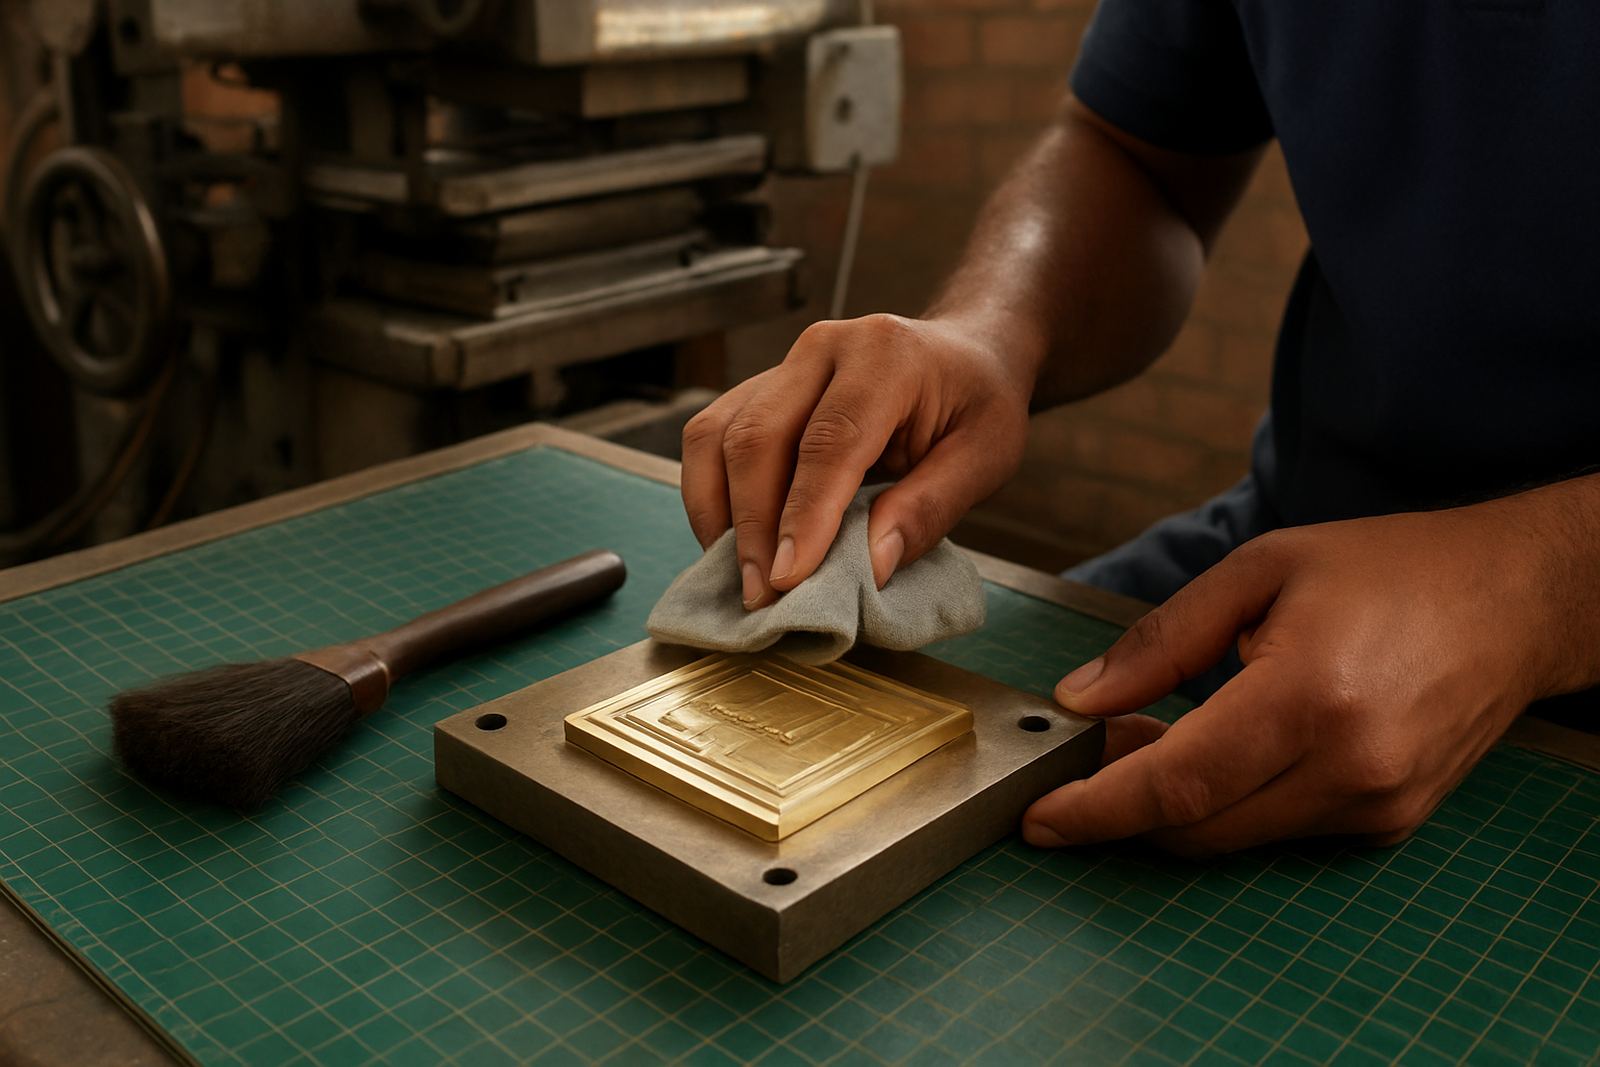
The aim is simple: remove foil residue, dust, adhesive trace and paper build-up without changing the face of the die. That means light pressure, the right cloth, and a steady routine after every run rather than waiting until the die is badly caked. In our experience, a few minutes of correct cleaning saves a lot of rework later, and it keeps the impression more consistent across repeat orders.
Start with a cool die and the right working area
Never clean a die while it is still hot from the press. Let it cool fully first so you do not smear residue into the engraving or burn yourself. A clean bench, good light and a dust-free area matter as much as the cleaning product. If the die is handled in a busy finishing room, mark out one space for cleaned tools, another for used cloths and a separate spot for inspection.
- Switch off and isolate the machine before removal.
- Allow the die to cool to room temperature.
- Wear gloves that give a firm grip but do not shed lint.
- Keep loose packing material, foil scraps and adhesive away from the cleaning area.
On a humid day in Durban or after a dusty load-shedding restart in Johannesburg, grime can settle quickly, so a tidy work area is not just neatness, it prevents contamination. A dry cloth left on the bench can pick up particles and put them straight back onto the die face.
Use gentle methods for brass and magnesium
For normal residue, a soft lint-free cloth is usually enough. If the build-up is heavier, use a mild cleaner that is suitable for engraved metal, then wipe immediately and dry the die fully. Do not soak the die. Magnesium in particular can react badly to aggressive liquids left sitting too long, while brass can still suffer from dulling if the surface is over-cleaned.
A wooden stick or soft nylon pick can help lift trapped foil from corners and small recesses. Avoid metal tools that can nick the edge of lettering or narrow highlights. If you need a little more pressure, use a soft nylon brush and work lightly in one direction. The idea is to lift dirt, not polish the engraving out of the die.
- Use a soft cloth first, then a mild cleaner if needed.
- Never use sandpaper, scouring powder or steel wool.
- Dry the die fully before storage or refitting.
- Check corners, counters and small text under strong light.
Watch for adhesive, foil and board fibre build-up
Cleaning is not only about visible dirt. Foil release, board fibre, varnish dust and adhesive trace can build up in tiny recesses and start affecting the next run. Once that happens, you may see patchy foil laydown, weak embossing or slight blinding in the detail. That is where a careful inspection matters as much as the wipe-down.
If the job included coated board or sticky laminate, inspect the die face more closely before it goes back into production. A soft swab can reach narrow lines and small dots, but do not force anything into the detail. If residue remains after a gentle clean, stop there and have the die assessed rather than taking a shortcut that could alter the profile. A quick fix now can become a permanent problem later.
Handle damage carefully before it gets worse
If you notice a nick, dull edge, lifted section or uneven wear, do not keep cleaning and hoping it will disappear. Cleaning cannot repair damage, and extra pressure often makes the fault worse. In a busy print finishing shop, a small mark on a die can become a costly job if it keeps running through a full production batch.
That is why a post-run check is worth the time. Look at the die face, the mounting points and the edge detail. If the die has been struck, dropped or bent, separate it from clean stock and note what happened. On repeat work, that record helps with faster assessment and can save a re-engrave when only a minor alteration is needed.
- Set damaged dies aside immediately.
- Record the job name, machine and fault observed.
- Do not scrape deep marks or try to flatten warped areas by hand.
- Arrange a proper assessment before the next run.
Store and pack dies so cleaning effort is not wasted
A well-cleaned die can still be damaged in storage if it is packed badly. Keep each die dry, wrapped to prevent rubbing and separated from heavier tools that can crush fine detail. For couriered jobs, proper packing is especially important because dies can move around in transit between Industria and finishing houses in Pretoria, Cape Town, Bloemfontein or Gqeberha.
Label each die clearly and file it with the job details so the next repeat order starts from a clean record. That makes ordering simpler, and it also helps if a future run needs die cleaning, counterforce matching or a small adjustment. Good storage protects the engraving you have already paid for and it reduces the chance of avoidable wear. Keep it dry, because coastal moisture can start problems before the next print run even begins.
When to ask for help instead of forcing a clean
Some dies can be cleaned on site with care, but others need closer attention. If residue is hard to remove, if the detail is very fine, or if the die has signs of damage, it is better to stop and get guidance. That is especially true for urgent work where the job must return to production without risking a poor impression.
When you are unsure, the safest approach is to protect the engraving first and the deadline second. A cautious clean, a proper inspection and a clear note on the job file usually give the best result. That way the die stays usable for the next run, and the print finish holds up the way it should.