
Why Small Labels Need Extra Planning
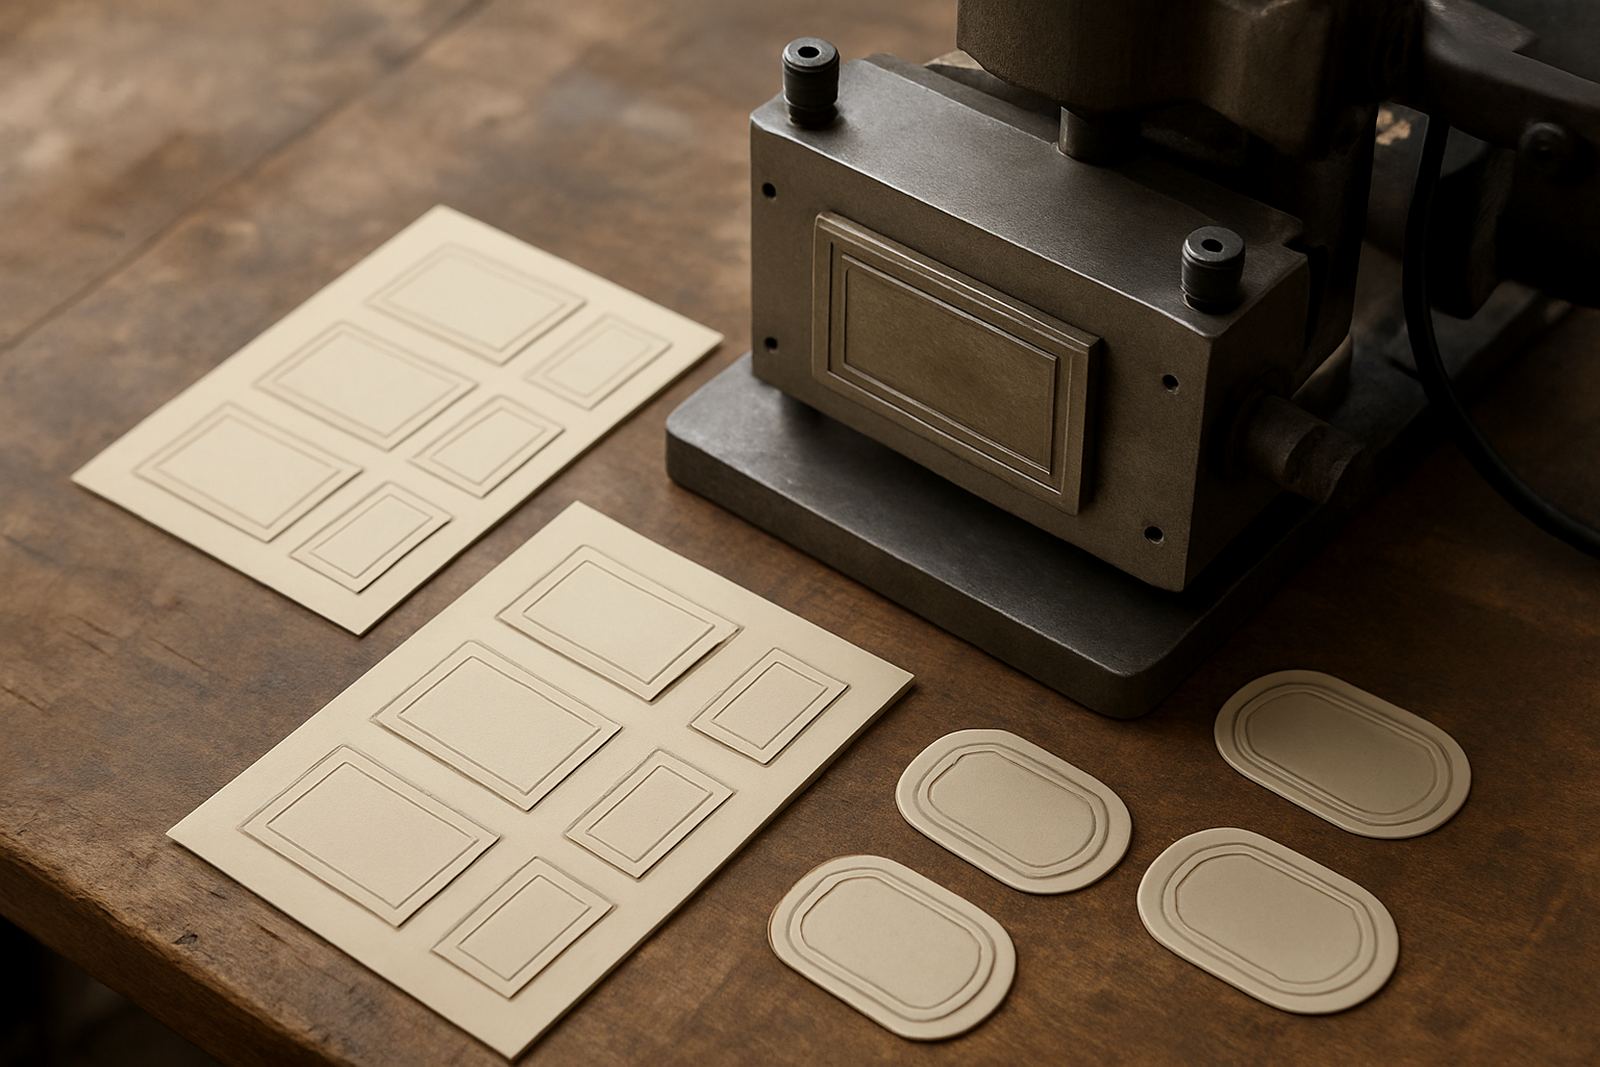
When a label gets smaller, the die has less space to carry detail and still cut cleanly. That affects lettering, borders, emboss lines, foil areas and even how the label feeds through finishing equipment. A design that looks fine on a mock-up can become fussy on press if the smallest lines are too close together or the layout leaves no room for tolerance.
In practice, the question is not only how small the label is, but what it must do. A tiny jar label for honey, a narrow bottle neck label, and a small carton seal all have different demands. The finish may need sharp corners, a crisp fold, or a light emboss to help the brand stand out. On small work, a millimetre matters more than most clients expect, and that is where careful die design pays off.
- Allow enough clear space around text and fine linework.
- Keep critical artwork away from the trim edge.
- Check how the label will sit on curved or uneven packaging.
- Confirm whether the finish needs foil, embossing, or both.
What Happens To Detail As The Format Shrinks
Very small labels often force a rethink of the artwork. Thin serifs, hairline rules and tight decorative borders can lose clarity once the die is cut and the sheet is trimmed. If a label is only 25 mm wide, there may not be enough room for generous spacing, so the design must be simplified without losing the brand look.
At this stage, the engraving process also becomes more sensitive. Brass and magnesium dies can both perform well, but the choice depends on the job, run length and the level of detail required. Brass is generally preferred for longer runs and finer work, while magnesium can suit lighter production needs. The important point is that the smallest feature on the label must still be large enough to hold its shape after cutting and finishing.
- Increase line weights if the artwork contains very fine rules.
- Avoid placing text inside tiny panels with narrow margins.
- Use bold type where the label size is under tight pressure.
- Review the die line against the final print size, not just the artwork file.
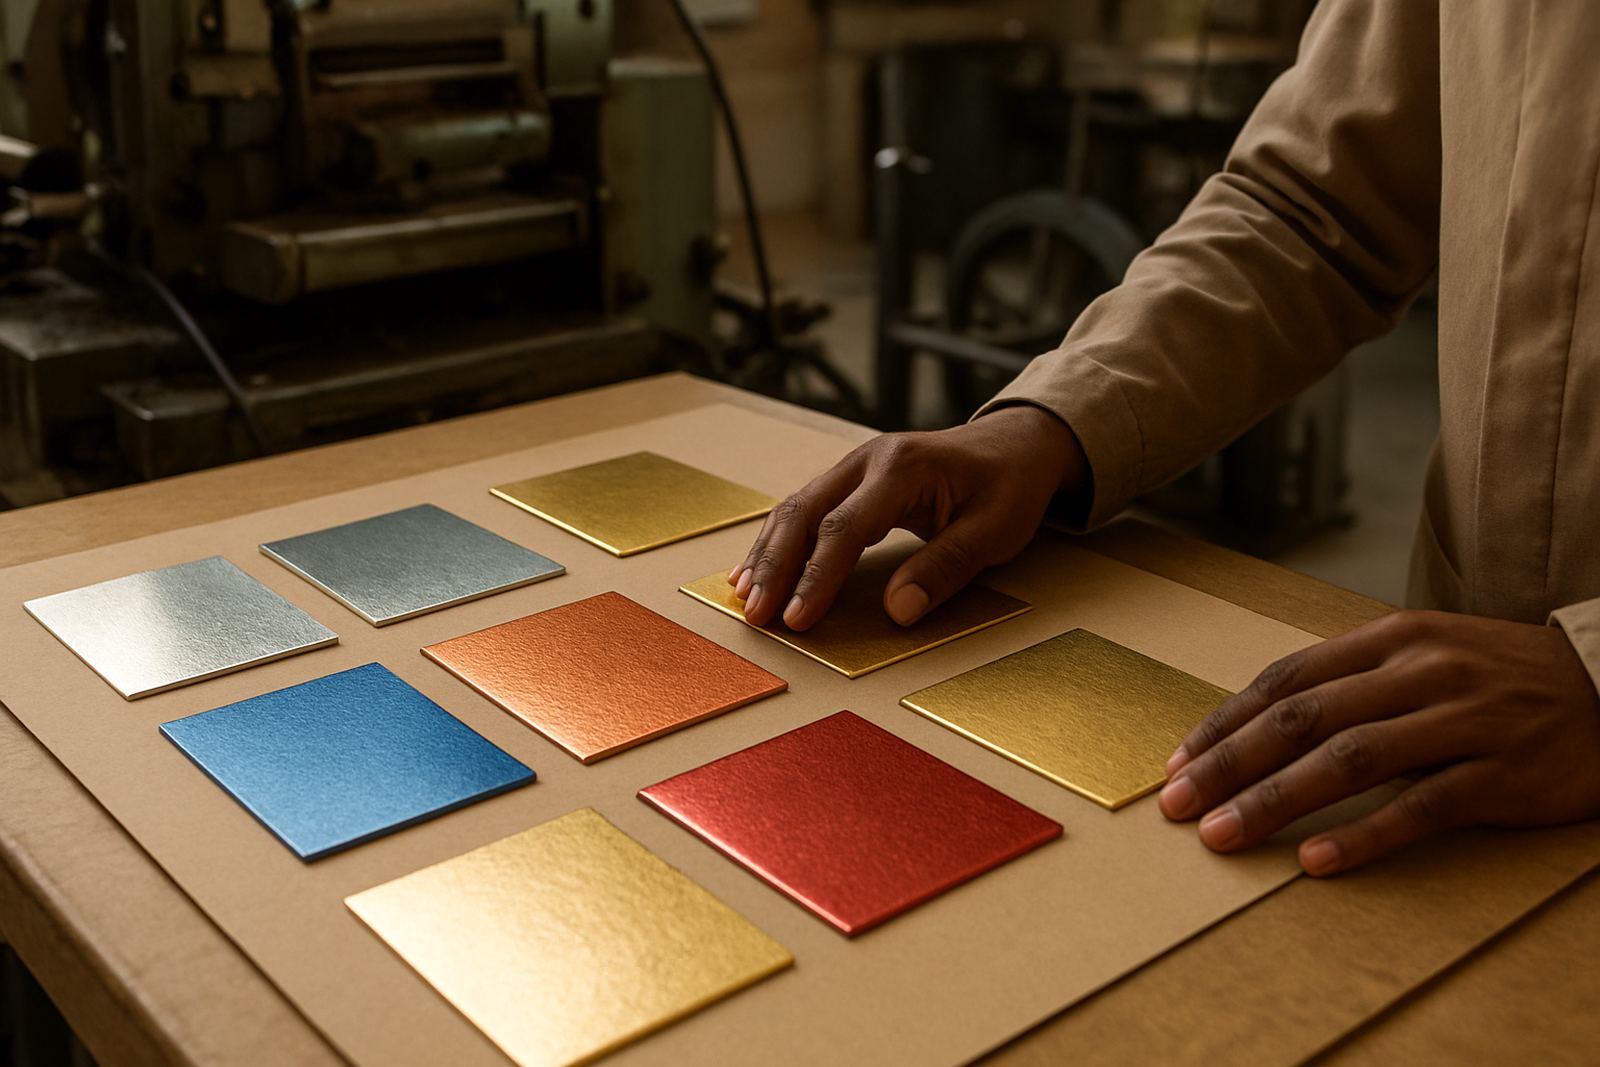
For labels that include hot stamping, the foil area should not be packed too tightly against other elements. If the foil is crowded, the detail may fill in or appear uneven after pressing. A clean, measured layout gives better results and helps avoid repeat set-up on press.
Curves, Corners And Packing Limits
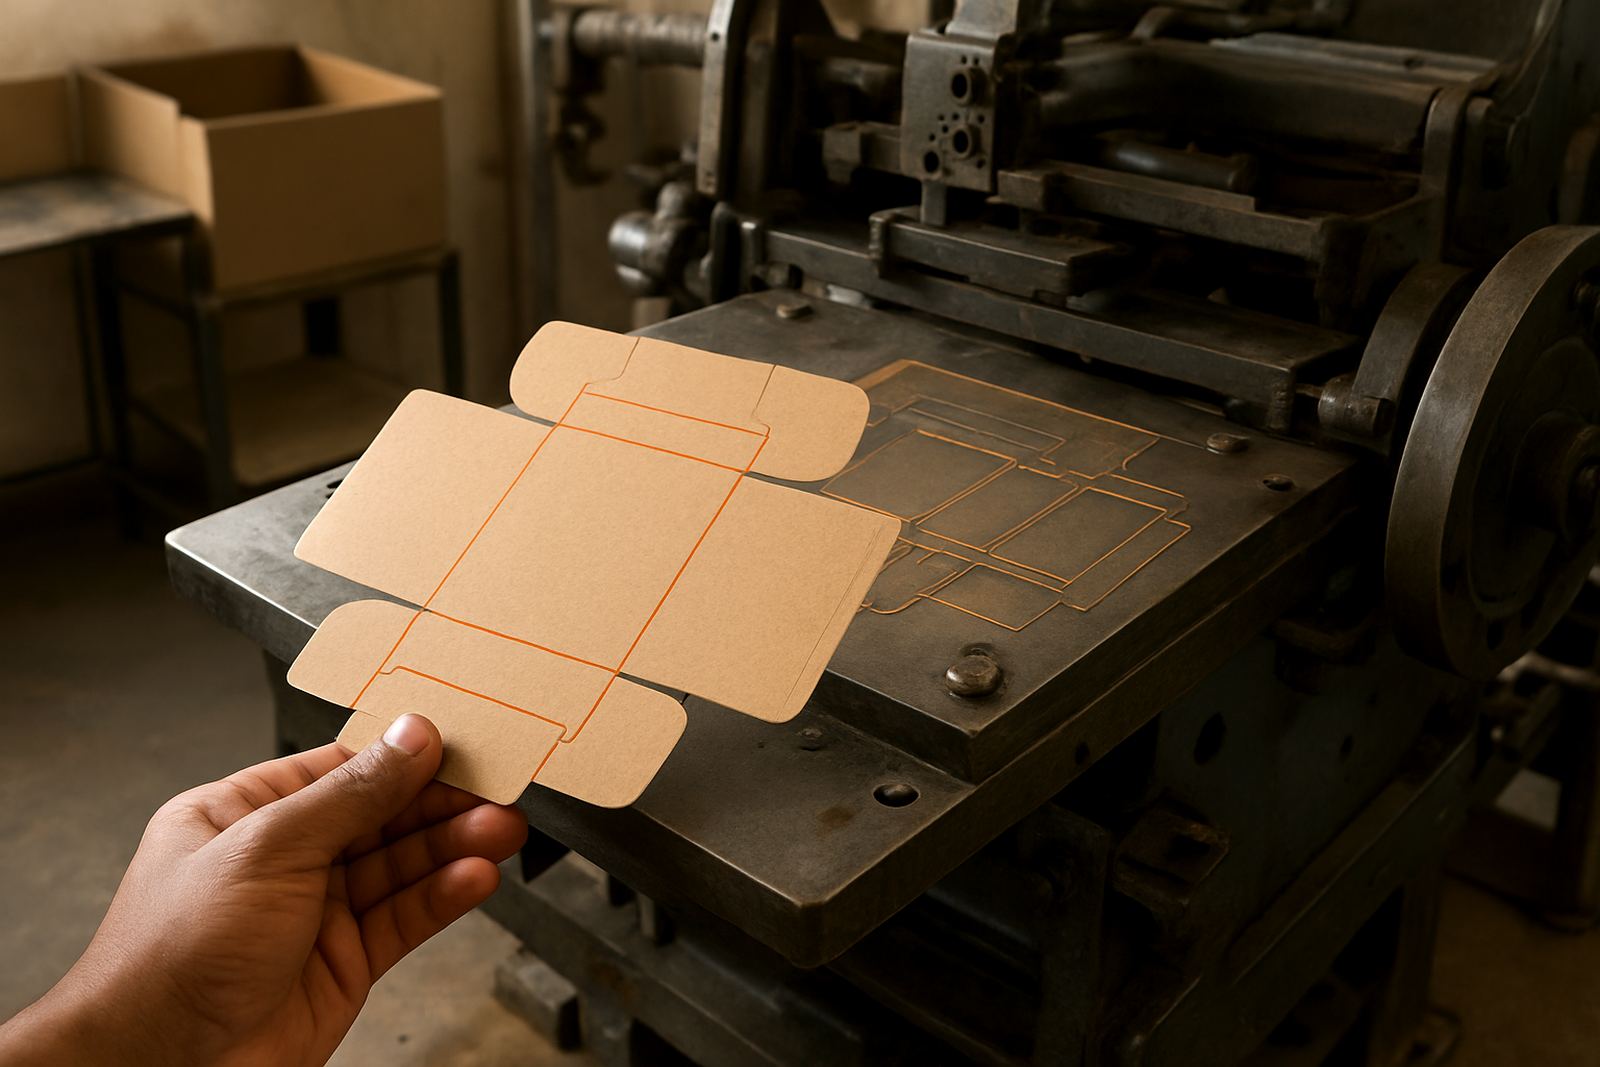
Small labels are often used on bottles, jars and cartons with limited flat area. That means the die must cope with curves, wrap points and adhesion that can vary from one pack type to another. On a cylindrical bottle, for example, a label may need a softer corner profile or a slightly adjusted size so the edge does not lift after application.
Packaging conditions matter too. In Johannesburg or Pretoria, a dry factory floor can behave differently to a humid packing line in Durban or Gqeberha. Labels stored in warm conditions may shift slightly in handling, while adhesive performance can change if the substrate is cold or dusty. If the label is very small, there is less room for that kind of movement, so the cutting line and finishing allowance must be accurate.
- Check whether the pack is flat, curved, or tapered.
- Allow for handling by machine or hand application.
- Confirm the label must not overlap seams or ridges.
- Test corner strength if the label wraps around an edge.
Embossing And Hot Stamping On Small Formats
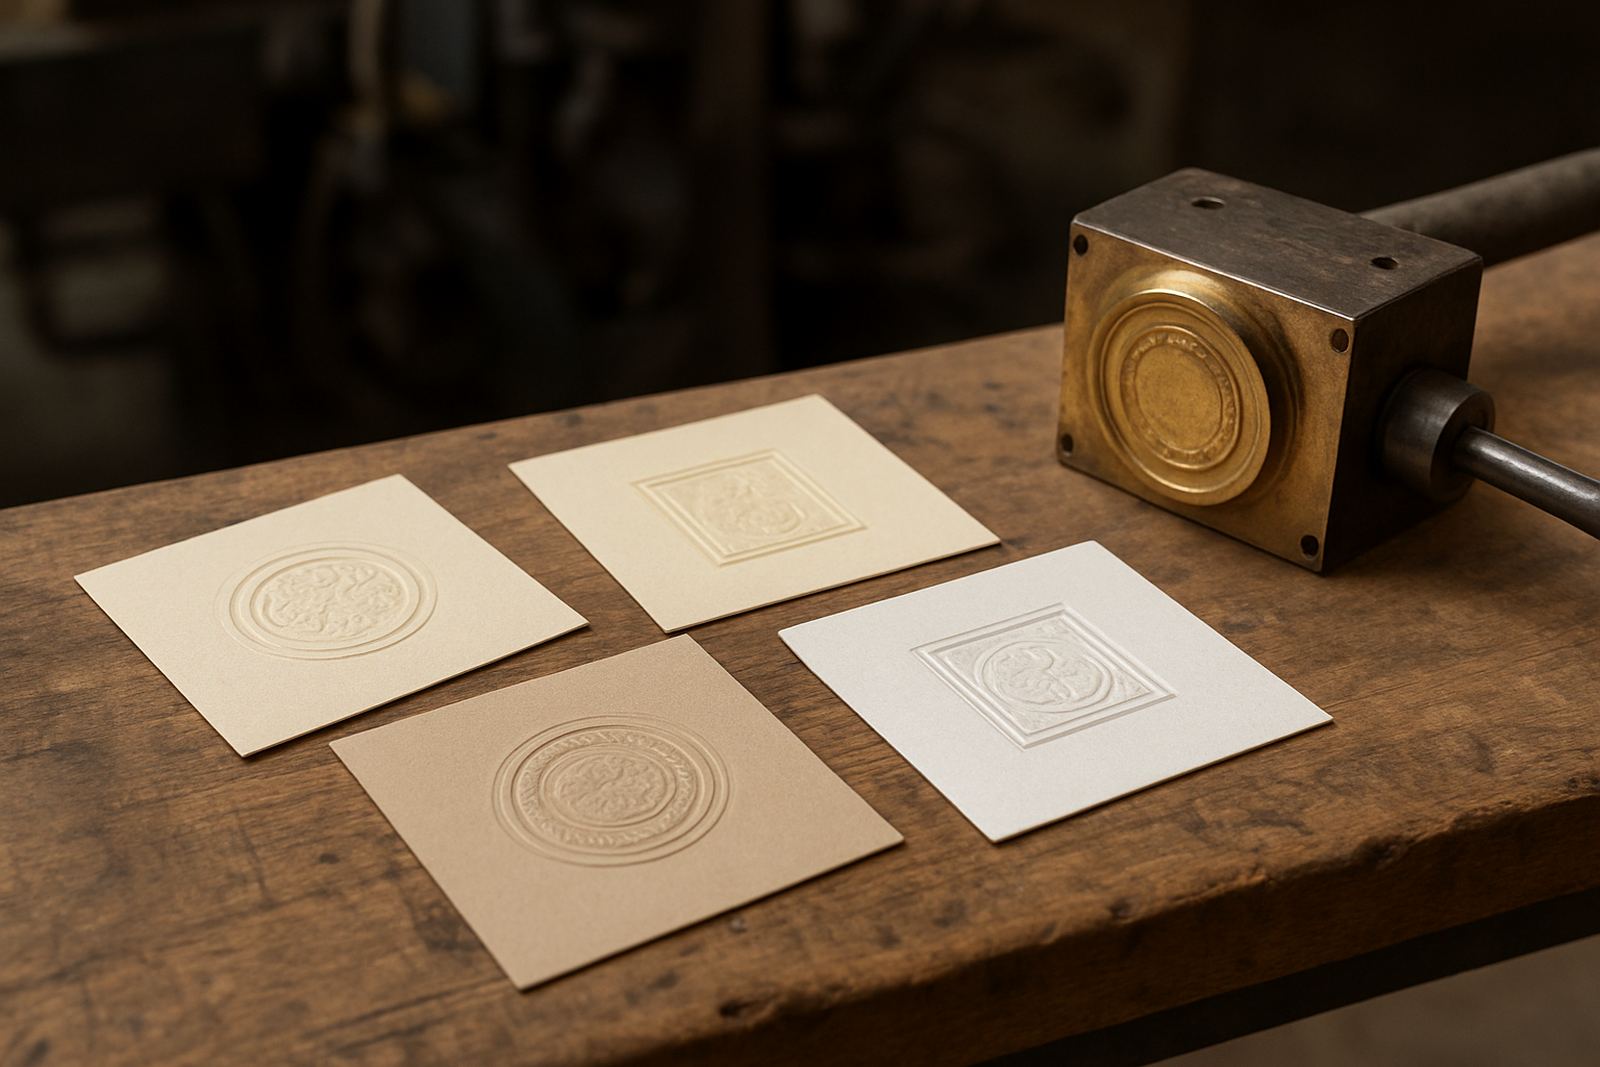
Embossing on a small label can add strong visual value, but only if the die is matched to the size of the artwork. If the raised area is too close to other elements, the impression can crowd the layout or distort nearby print. The same applies to hot stamping where the foil panel must be neat and well supported by the substrate.
For smaller formats, less is often more. A single embossed mark, a narrow foil border or a small emblem can work better than trying to fit several effects into a tight space. If the die is made for the finished label size and not for a rough estimate, the result is usually cleaner and the press operator has less chasing to do. Its also easier to keep consistent across repeats when the label shape is simple and well filed for future orders.
Small labels may also need counterforce matching so the press pressure stays even. Without that, the impression can appear heavier on one side and lighter on the other, especially on short runs where setup changes happen quickly.
Artwork Checks That Save Time Later
Before engraving starts, the artwork should be checked line by line. Small labels leave very little room for correction after production begins. A stray anchor point, an oversized fold allowance, or a misread measurement can affect the whole batch. That is why the prepress step matters as much as the cutting itself.
Useful checks before approval include the final trim size, bleed, safe area, foil coverage, emboss depth and any repeat pattern. If the label is part of a packaging set, the finish should also line up with the carton, sleeve or outer wrap. A clear check at the start helps avoid damage assessment later, which is always more costly than getting it right first time.
- Confirm the final size in millimetres, not only the artwork proportion.
- Review text legibility at actual size on screen and on paper.
- Mark any special corners, cutouts or registration points clearly.
- Ask for sample impression advice if the finish is new to the job.
A Johannesburg Example For A Small Label Run
A packaging house in Industria may need a 32 mm label for a premium condiment range headed for stores in Johannesburg and Cape Town. The format is small, the bottle is curved, and the customer wants a brass die with a modest embossed mark and clean foil detail. In that case, the team would check the artwork first, confirm the smallest readable text, and make sure the die design allows for neat cutting without crowding the logo.
Once the die is engraved, the job can be packed and dispatched nationwide to print finishers or packers who need it fast. If the client later reorders the same label, the stored job file makes repeat ordering simpler, while any small change to artwork or size can be handled as a die alteration rather than starting over. That keeps the turnaround practical, especially when production slots are tight and the line cant wait.
For small labels, the best result usually comes from steady planning, accurate measurement and a finish that suits the space available. A good die does not fight the label size, it works with it.